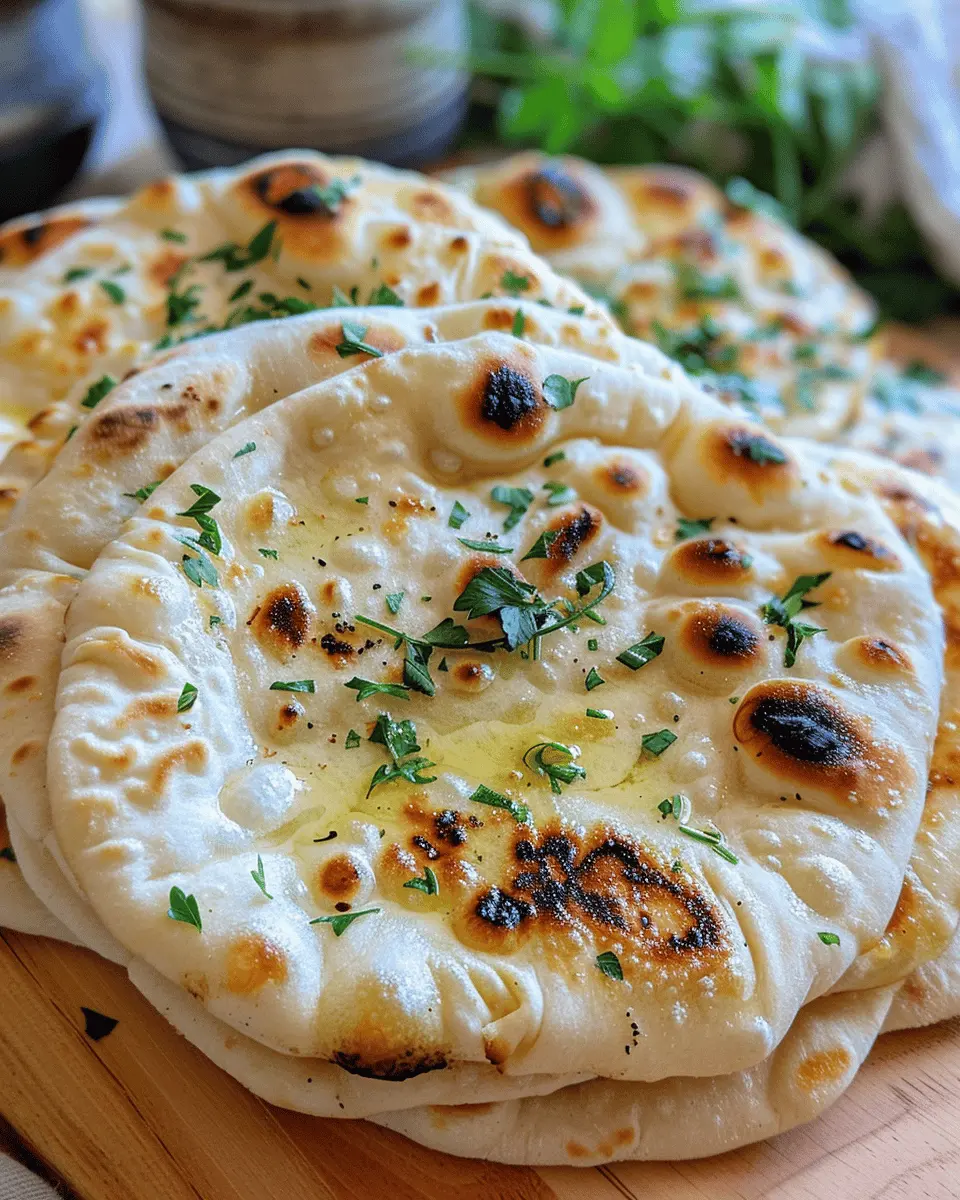
Introduction to Homemade Garlic Naan
When it comes to Indian cuisine, naan takes the crown as one of the most beloved breads, and there’s just something extraordinary about homemade garlic naan. Picture yourself winding down after a long day, craving something warm, fluffy, and aromatic. That’s where making garlic naan at home can truly be a game changer!
Why Homemade Garlic Naan is a Game Changer
One of the biggest benefits of crafting your own garlic naan is the sheer satisfaction of creating a restaurant-quality dish in your own kitchen. You can customize the garlic quantity, add your favorite herbs, or even experiment with different types of flours. But it’s not just about customization; it’s also about freshness. The moment you pull that homemade garlic naan out of the oven, the fragrant scent of golden garlic and sizzling butter fills your home, making it the perfect companion for your favorite curry or stew.
Crafting naan from scratch might sound daunting, but it’s surprisingly simple! With just a few pantry staples—like all-purpose flour, yeast, and a sprinkle of sugar—you’re halfway there. Plus, the kneading and rolling can be a therapeutic experience, allowing you to unwind as you cook. If you think about it, how often do you get to enjoy food that’s both comforting and nourishing?
Don’t take my word for it—experts suggest that homemade versions of popular dishes often outperform store-bought alternatives both in taste and health benefits. Research indicates that preparing meals at home can lead to better nutritional choices, which is always a win in our busy lives (source: Healthline).
Moreover, dining in is a fantastic way to bond with friends or family. Think of it as a mini-event where everyone gets to gather around, tear into the naan, and savor what’s on the table. You’ll find that the simplicity of homemade garlic naan fosters deeper connections over shared meals.
So, if you’ve ever hesitated to try making it yourself, now is the perfect time to give it a shot. Trust me, once you delve into the world of homemade garlic naan, there’s no going back!
Ingredients for Homemade Garlic Naan
When it comes to making homemade garlic naan, having the right ingredients is key. Let’s break down what you’ll need for that warm, fluffy bread you can’t resist.
Essential ingredients for the perfect naan
To create the ultimate garlic naan, you’ll need:
- All-purpose flour: This forms the base of your naan, providing structure and chewiness.
- Yeast: Essential for that delightful puffiness. Instant yeast works great!
- Plain yogurt: Adds moisture and richness to the dough.
- Warm water: Activates the yeast and helps form a smooth dough.
- Salt: Enhances the flavor and balances the sweetness of the dough.
- Garlic: Of course, the star ingredient! Fresh minced garlic is best for flavor.
Optional ingredients to enhance flavor
Feel free to get creative! Consider adding:
- Cilantro or parsley: Fresh herbs can provide a colorful touch and additional flavor.
- Ghee or butter: Brush it on warm naan for a luscious finish that takes the flavor over the top.
- Sesame seeds: A sprinkle on top can offer a delightful crunch.
These additions can elevate your homemade garlic naan experience, making it truly special for any meal. If you’re curious about more details on culturally inspired recipes, USDA’s website can provide you with comprehensive nutritional insights. Check it out here.
With these ingredients, you’re on your way to impressing friends and loved ones with delicious, homemade garlic naan!
Step-by-Step Preparation of Homemade Garlic Naan
Making homemade garlic naan can turn an ordinary meal into something extraordinary. This soft, chewy bread is the perfect companion for stews, curries, or even as a snack on its own. Let’s delve into the step-by-step process to make this delicious blend of flavors and aromas right in your kitchen!
Gear up the yeast mixture
The first step in creating your homemade garlic naan begins with nurturing the yeast. This is crucial for achieving that delightful fluffiness, so don’t rush it!
- Ingredients:
- 1 teaspoon of active dry yeast
- 1 teaspoon of sugar
- 1/2 cup of warm water (about 110°F or 43°C)
- In a small bowl, combine the warm water, yeast, and sugar. Stir gently to combine and let it sit for about 5-10 minutes until it becomes frothy. This indicates your yeast is alive and ready to do its magic.
Combine the dry and wet ingredients
Once your yeast mixture is bubbling, it’s time to bring your homemade garlic naan together.
- Ingredients:
- 3 cups of all-purpose flour
- 1/2 teaspoon of salt
- 1 teaspoon of baking powder
- 1/4 cup of plain yogurt
- 2 tablespoons of melted ghee or unsalted butter
-
In a large mixing bowl, combine the flour, salt, and baking powder. Make a well in the center and pour in the yeast mixture, yogurt, and melted ghee.
-
Mix everything together until you have a shaggy dough. It may be a bit sticky; that’s okay!
Pro tip: For additional flavor, feel free to add a pinch of garlic powder to the dry ingredients, enhancing that garlicky goodness.
Knead to perfection
Now it’s time to knead! This step is vital for developing the gluten that gives naan its lovely texture.
-
Transfer the dough to a floured surface and knead for about 8-10 minutes until it becomes smooth and elastic.
-
If the dough is too sticky, sprinkle just a little more flour. Conversely, if it’s too dry, a touch of water will help.
Expert opinion: According to many bakers, kneading is not just about strength; it’s about technique. Keep your hands flat and push the dough away from you, then fold it back over itself for the best results.
Allow the dough to rise
After kneading, it’s time for the dough to relax and expand.
-
Shape the dough into a ball and place it in a lightly oiled bowl, covering it with a kitchen towel.
-
Let it rise in a warm place for about 1-2 hours, or until it has doubled in size.
Personal anecdote: I remember the first time I made naan, I was skeptical if it would really rise. Seeing that dough puff up was so satisfying—it felt like a small victory!
Forming and rolling out the naan
Once your dough has risen, it’s time to shape your naan.
-
Punch down the dough to release the air and divide it into 6-8 equal pieces. Shape each piece into a ball and let them rest for another 10-15 minutes.
-
On a floured surface, take one ball and roll it out into an oval or tear-drop shape, making sure it’s about 1/4 inch thick.
Tip: The more you roll it out, the thinner and airier it becomes, so play around with it!
Cooking the naan in a skillet
Cooking the homemade garlic naan in a skillet provides that beautiful char you’d expect from a tandoor.
-
Heat a skillet over medium-high heat. Once hot, carefully place a rolled-out naan onto the skillet.
-
Cook for about 1-2 minutes until bubbles form, then flip it over and cook for another minute.
Want some authenticity? If you can, add a few drops of water to the skillet before covering it to create steam—this helps the bread rise and become fluffier.
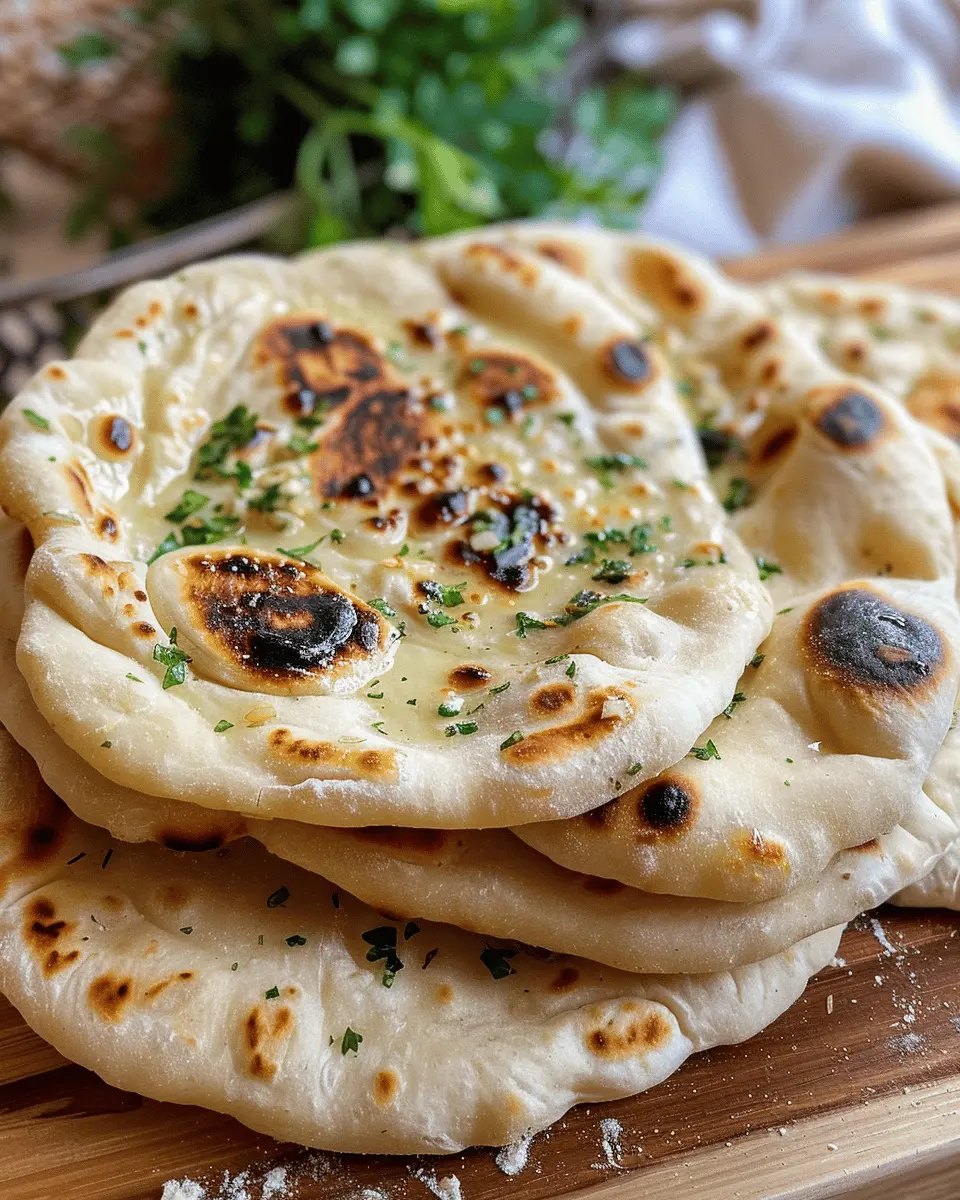
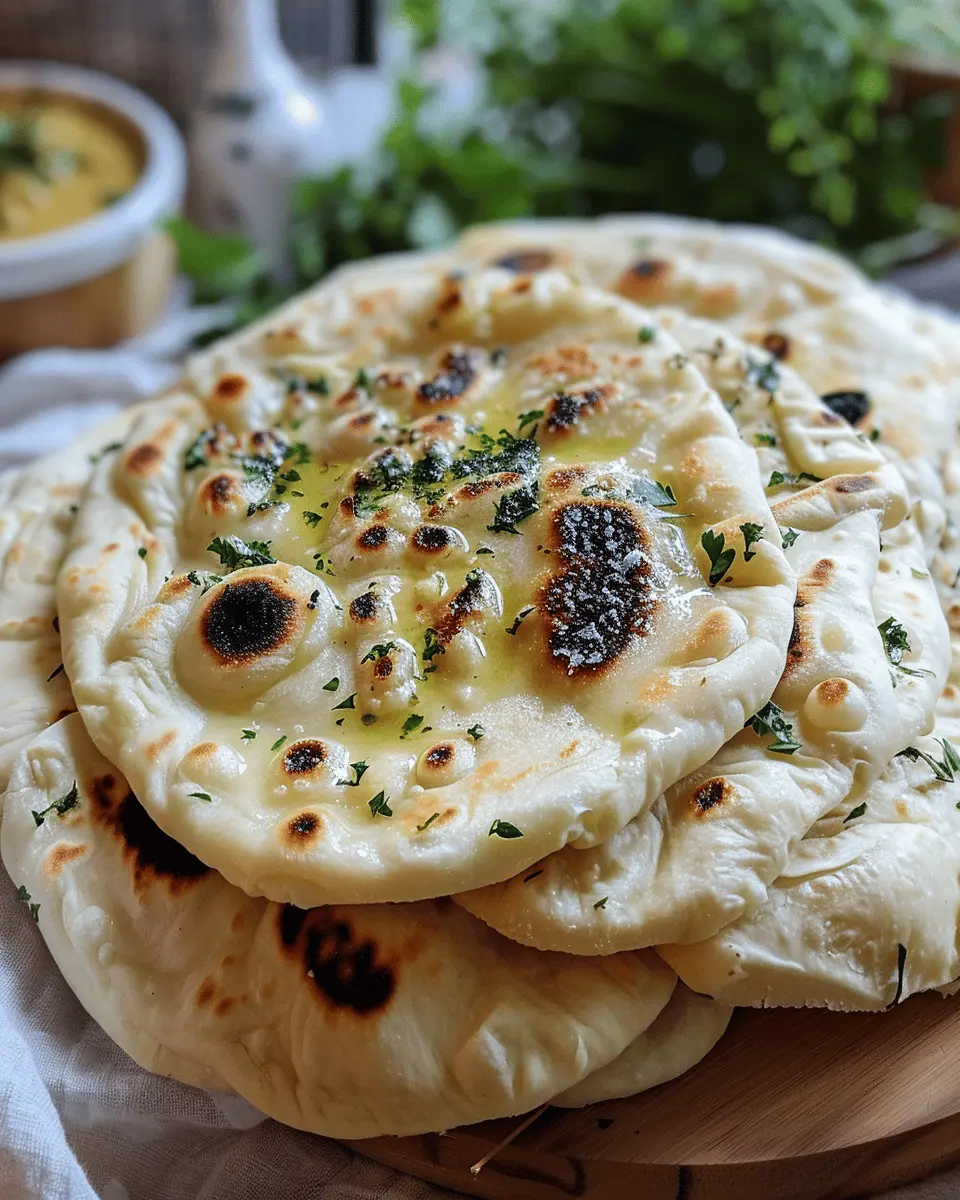
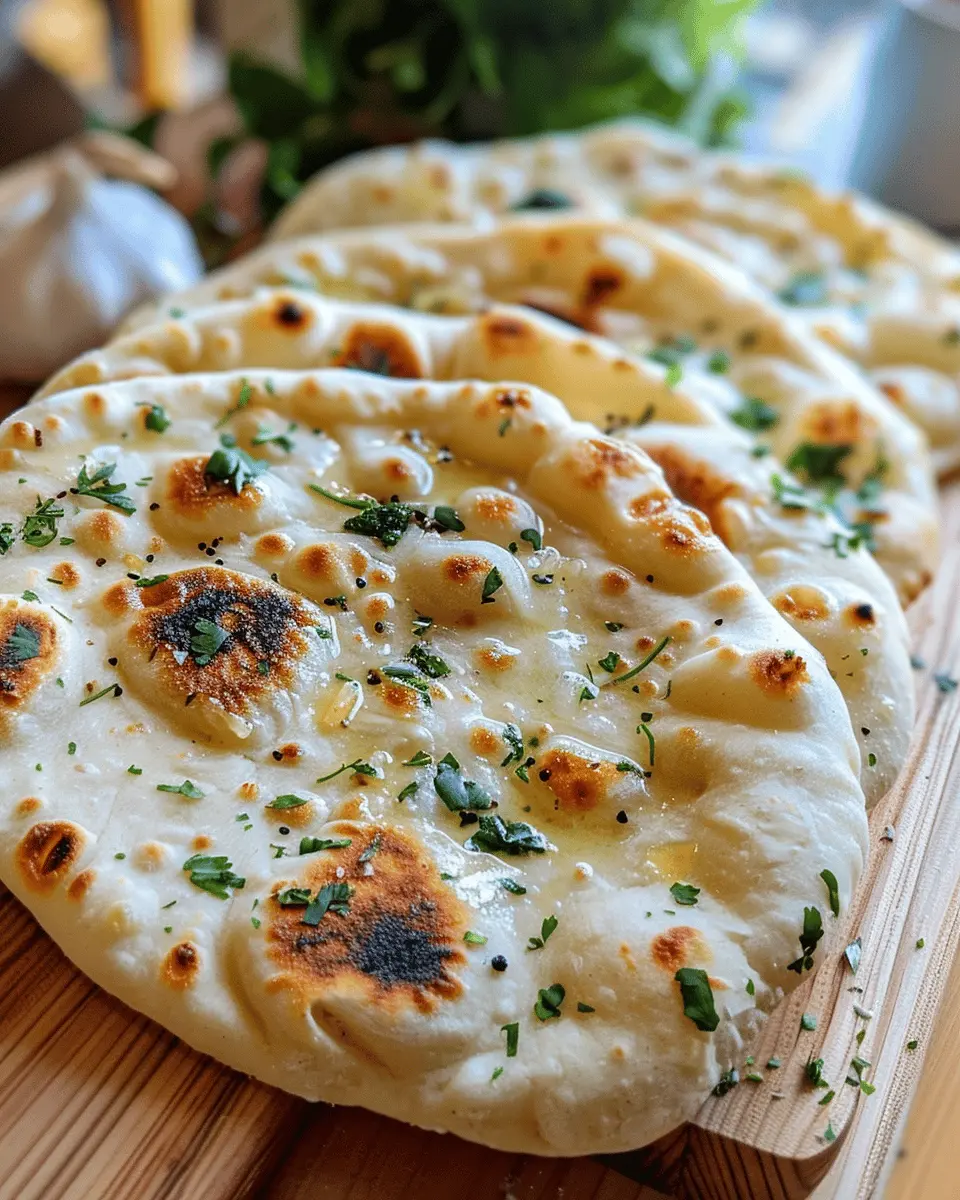
Adding garlic butter and herbs
To finish things off, let’s add that rich garlic flavor.
- Ingredients:
- 2 tablespoons of melted butter
- 2-3 cloves of minced garlic
- Fresh cilantro or parsley for garnish
-
In a small bowl, mix melted butter with minced garlic.
-
Brush the garlic butter on your warm naan immediately after cooking. Garnish with chopped herbs for an extra touch.
And there you have it—your homemade garlic naan is ready to be enjoyed! Serve it warm with your favorite curry, or simply savor it on its own as a delicious treat. Happy cooking!
Variations of Homemade Garlic Naan
When it comes to homemade garlic naan, the possibilities are as vast as your imagination! Here are some delightful variations to elevate your dining experience.
Cheesy Garlic Naan
For all the cheese lovers out there, why not incorporate a gooey, melty center into your naan? Simply add shredded mozzarella or cheddar between two thin layers of dough before rolling out. Cook it on high heat to achieve that perfect melted cheese goodness. Pair it with a rich marinara for a dipping experience that’s pure bliss!
Herb-Infused Naan
If you’re looking to brighten up your homemade garlic naan with fresh flavors, consider adding a medley of herbs. Chopped cilantro, rosemary, or thyme can transform your naan into a fragrant delight. Mix your herbs into the dough, or sprinkle them on top before cooking for a burst of flavor. Fresh ingredients can offer not just taste but also a vibrant aroma that’ll make your kitchen feel like a gourmet restaurant.
Whole Wheat Garlic Naan
For those seeking a healthier alternative, whole wheat naan is an excellent choice. By substituting all-purpose flour with whole wheat flour, you can boost the fiber content while maintaining that delectable garlic flavor. This variation makes for a wholesome option that still delivers on taste. Consider researching the benefits of whole grains at trusted sources like the Whole Grains Council for more insights.
No matter the version you choose, these variations of homemade garlic naan are sure to impress your friends and family. So, which one will you try first?
Cooking Tips and Notes for Homemade Garlic Naan
Troubleshooting Dough Issues
Making homemade garlic naan can sometimes come with its challenges, but don’t fret! If your dough seems too sticky, try adding a bit more flour—just a tablespoon at a time—to find that perfect balance. Alternatively, if it’s too dry, a little warm water can work wonders. Remember, each flour type can behave differently, so adjust as needed!
Importance of Temperature
Temperature plays a crucial role in how well your naan turns out. Ensure your water is warm but not scalding—around 110°F (43°C) is ideal for activating yeast. This warmth nurtures fermentation, giving your naan that delightful puffy texture. Likewise, let your dough rise in a draft-free spot; a cozy kitchen corner works beautifully. For more tips on yeast and dough, check out Serious Eats.
Cooking homemade garlic naan is a delicious journey, and with these tips, you’ll feel confident every step of the way! Happy cooking!
Serving Suggestions for Homemade Garlic Naan
Best dishes to pair with garlic naan
There’s something magical about homemade garlic naan – it pairs beautifully with so many delicious dishes. If you’re wondering what to serve alongside this warm, fluffy bread, consider these favorites:
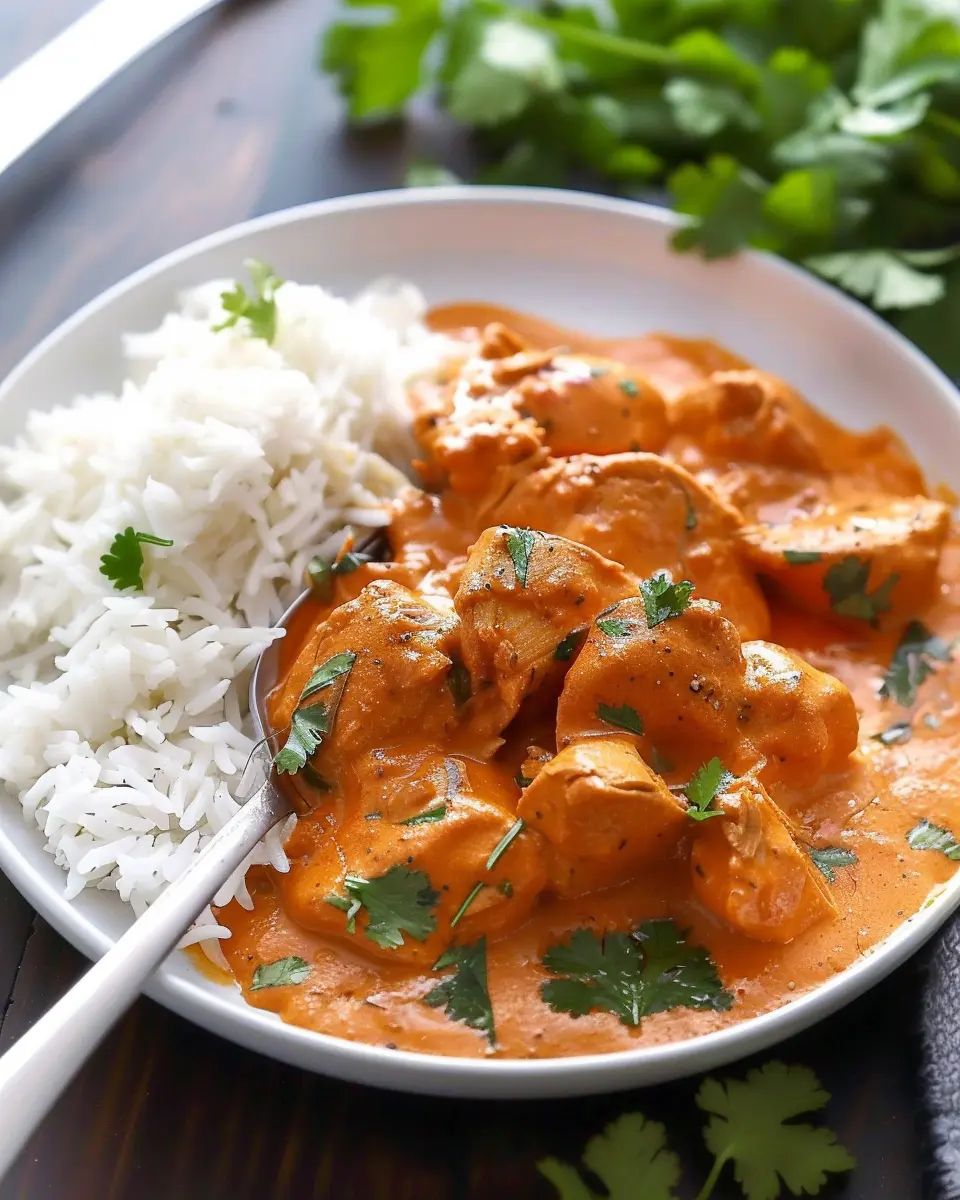
- Butter Chicken: The creamy, spicy sauce clings perfectly to the naan, making each mouthful satisfying.
- Chickpea Curry: A vegetarian delight, the vibrant flavors of chickpeas and spices create a wonderful contrast to the garlic notes in the naan.
- Tandoori Chicken: The smoky, spiced chicken is a classic match that elevates any meal.
- Palak Paneer: This spinach and cheese dish complements the garlic flavors too, providing a creamy texture that you won’t want to resist.
Creative serving ideas
Why stop at traditional pairings? Try these inventive ways to enjoy your homemade garlic naan:
- Mini Pizzas: Top naan with marinara, cheese, and veggies, then broil for quick, fun personal pizzas.
- Roll-Ups: Spread cream cheese mixed with herbs onto the naan, add sliced turkey bacon or chicken ham, roll it up, and slice into bite-sized pieces for an easy appetizer.
- Dipping Platter: Serve your naan with an array of dips such as hummus, tzatziki, or a fresh salsa verde for a vibrant snack.
Feeling adventurous? Check out more tips on creating memorable meals or exploring unique flavor combinations! With these serving suggestions, your homemade garlic naan will shine as the star of any table.
Time Breakdown for Homemade Garlic Naan
Preparation time
Making homemade garlic naan is a breeze! Set aside about 1 hour for preparation and dough rising. This includes mixing your ingredients and allowing the dough to rest, which is essential for that perfect texture.
Cooking time
Once your dough is ready, cooking takes just 10-15 minutes. You’ll be surprised at how quickly it transforms into delicious, fluffy naan on your skillet or grill.
Total time
From start to finish, you’re looking at around 1 hour and 15 minutes to enjoy your fresh homemade garlic naan. Not too bad, right? This is perfect for a casual weeknight dinner or an impressive addition to a weekend gathering. For more tips on bread-making, check out this great resource on bread baking.
Nutritional Facts for Homemade Garlic Naan
Calories per serving
When indulging in homemade garlic naan, it’s good to know what you’re biting into! Each serving typically contains around 180–200 calories, depending on the ingredients used.
Key nutrients
This delectable bread is not just a guilty pleasure; it also packs a nutritional punch:
- Carbohydrates: A great source of energy.
- Protein: Up to 5 grams per serving, particularly when made with yogurt.
- Fiber: Helps with digestion, especially if whole wheat flour is used.
Healthier ingredient alternatives
Want to lighten the load but still enjoy homemade garlic naan? Here are a few swaps:
- Whole Wheat Flour: Use this instead of all-purpose flour for added nutrients.
- Greek Yogurt: A healthier substitute for traditional yogurt provides extra protein.
- Olive Oil: Instead of butter, consider using olive oil for a heart-healthy fat.
For a deeper dive into the nutritional aspects, check out the resources at Healthline and American Heart Association. Eating well doesn’t mean sacrificing flavor!
FAQs about Homemade Garlic Naan
How can I store leftover naan?
After you indulge in your delicious homemade garlic naan, you might be wondering how to keep those leftovers fresh. Wrap your naan tightly in aluminum foil or place it in an airtight container. Storing it at room temperature for up to 2 days is acceptable, but for optimal freshness, keep it in the fridge. Just remember to give it a quick reheating in a toaster or on a skillet to bring that fluffy texture back to life!
Can I freeze homemade naan?
Absolutely! Freezing your homemade garlic naan is an excellent way to ensure you always have a tasty bread option on hand. Allow the naan to cool completely, then stack them with parchment paper in between to prevent sticking. Transfer the stack into a freezer-safe bag or container and pop it in the freezer. They can last for up to 3 months. When you’re ready to enjoy, simply thaw in the fridge overnight and warm it up when you’re ready to serve!
What if I don’t have Greek yogurt?
No Greek yogurt? No problem! You can easily substitute it with regular yogurt or even sour cream. Alternatively, a mixture of milk and a splash of lemon juice can mimic the tanginess of Greek yogurt effectively. Just keep in mind that the consistency might vary slightly, but you’ll still end up with that irresistibly soft texture in your homemade garlic naan. If you’re curious about fermentation, consider reading more here for some expert tips.
Feel free to experiment and make this recipe your own—you won’t be disappointed!
Conclusion on Homemade Garlic Naan
Recap of the Journey to Perfect Naan
Embarking on the quest for the perfect homemade garlic naan is truly rewarding. From kneading the dough just right to achieving that delightful buttery finish, each step builds layers of flavor. I wanted my naan to be fluffy, with that perfect charred texture, and I know you did too!
Whether you paired it with a warm curry or simply enjoyed it on its own, this recipe is a canvas for creativity. Remember, everybody has their unique touch—don’t hesitate to experiment with flavors or toppings. If you’re interested in more ideas for enjoying naan, check out this article on creative naan toppings.
So roll up your sleeves and indulge in the warmth and satisfaction of creating something delicious. I can’t wait for you to take this journey again!
PrintHomemade Garlic Naan: The Easiest Recipe for Fluffy Delight

Learn how to make delicious homemade garlic naan that is soft, fluffy, and perfect for pairing with your favorite Indian dishes.
- Prep Time: 20 minutes
- Cook Time: 15 minutes
- Total Time: 1 hour 35 minutes
- Yield: 6 naans 1x
- Category: Bread
- Method: Stovetop
- Cuisine: Indian
- Diet: Vegetarian
Ingredients
- 2 cups all-purpose flour
- 1 teaspoon salt
- 1 teaspoon sugar
- 1 teaspoon baking powder
- 1/2 cup plain yogurt
- 1/2 cup warm water
- 3 tablespoons melted butter
- 4 cloves garlic, minced
- 2 tablespoons fresh cilantro, chopped
Instructions
- In a bowl, mix flour, salt, sugar, and baking powder.
- Add yogurt and warm water, and knead into a soft dough.
- Let the dough rise for about 1 hour.
- Divide dough into equal balls and roll them out.
- Heat a skillet and cook each naan for 2-3 minutes on each side until golden brown.
- Brush with melted butter and sprinkle with garlic and cilantro before serving.
Notes
- For best results, let the dough rest overnight in the refrigerator.
- Experiment with adding herbs to the dough for different flavors.
Nutrition
- Serving Size: 1 naan
- Calories: 200
- Sugar: 1 g
- Sodium: 250 mg
- Fat: 6 g
- Saturated Fat: 3 g
- Unsaturated Fat: 2 g
- Trans Fat: 0 g
- Carbohydrates: 30 g
- Fiber: 1 g
- Protein: 5 g
- Cholesterol: 10 mg
Keywords: Homemade Garlic Naan, Naan Recipe, Garlic Naan