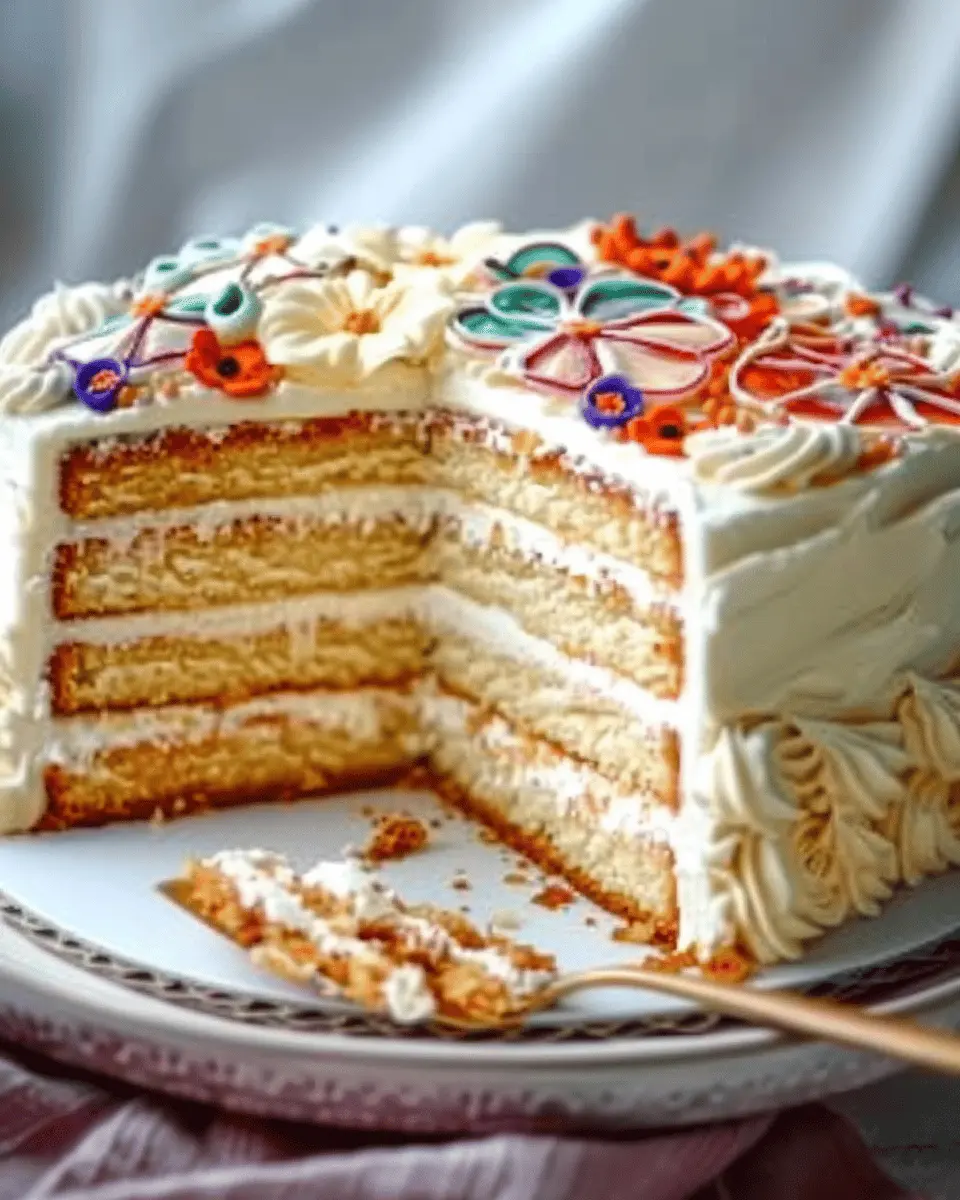
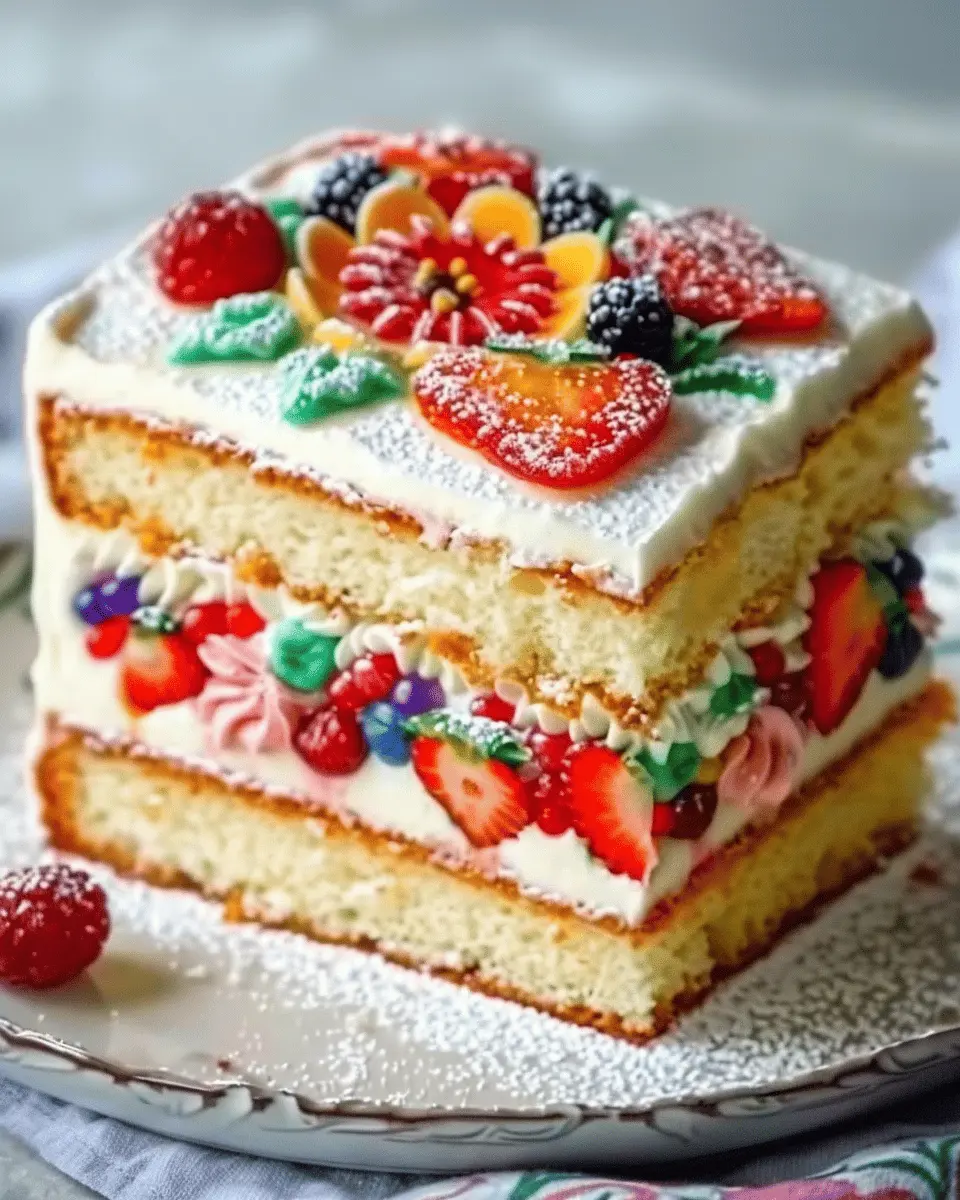
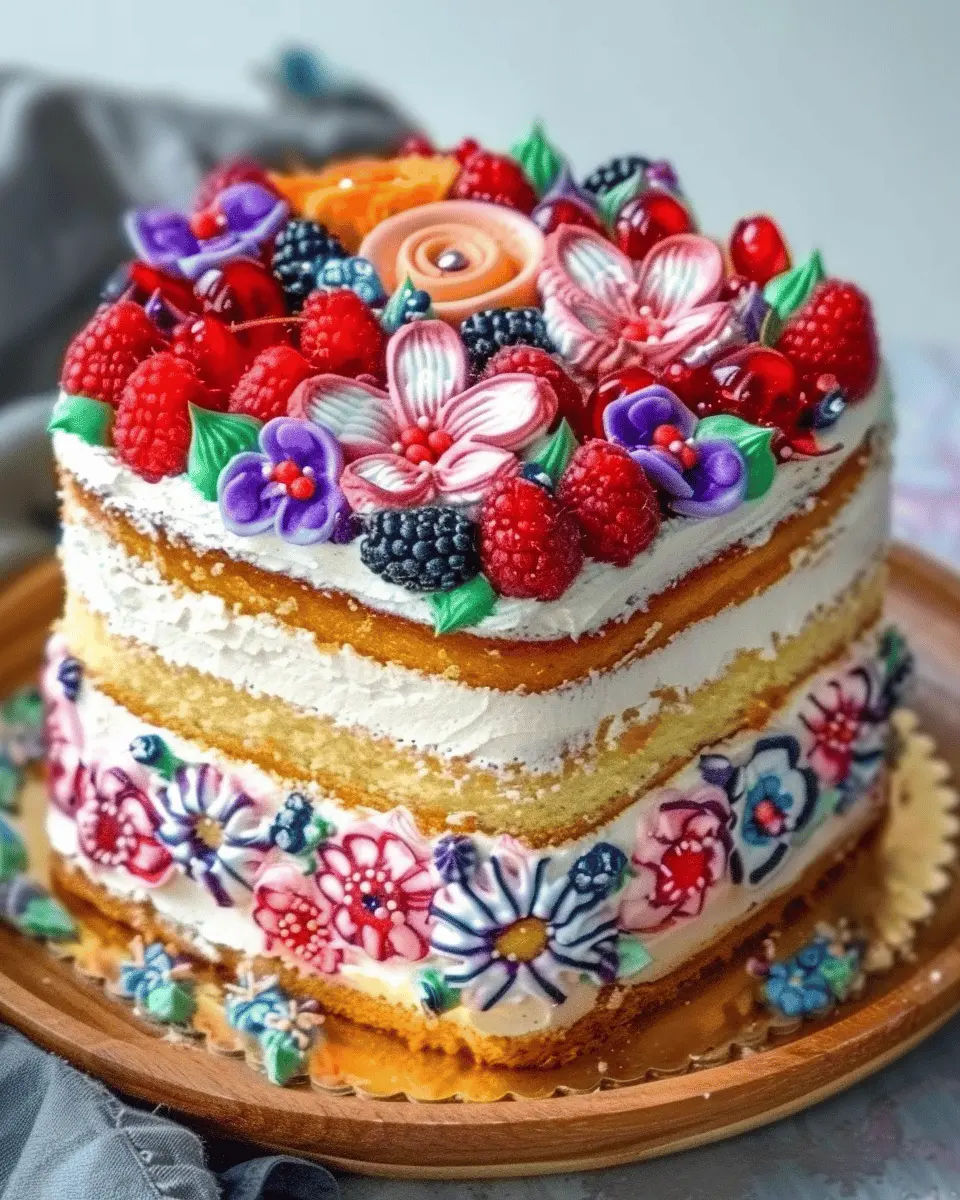
Introduction to Designed Sponge Cakes
Imagine walking into a cozy café, the delightful aroma of freshly baked goods wafting through the air, and there, front and center, sits a stunning designed sponge cake. Something about its light and airy structure beckons you closer—a perfect blend of artistry and indulgence. Designed sponge cakes are not just cakes; they’re artistic creations that elevate any celebration and bring a touch of elegance to your dessert table.
What makes designed sponge cakes a delightful choice?
So, why are designed sponge cakes such a delightful choice for birthdays, weddings, and all those special moments in between? First and foremost, their fluffy texture and neutral flavor make them incredibly versatile. You can pair these cakes with various fillings and icings—think fresh fruit, creamy buttercreams, or even zesty citrus curds. According to culinary experts, the sponge cake’s ability to absorb flavors makes it a perfect canvas for your culinary creativity.
But it’s not just their taste that charms us. Designed sponge cakes often showcase creative designs that can pull together any theme or occasion. Whether you’re going for whimsical or sophisticated, you can mold the cake’s appearance with fondant, edible flowers, or intricate piping. The only limit is your imagination. For more design inspiration, check out Baker’s Illustrated for expert tips on how to enhance your cake’s aesthetic.
And let’s talk about texture! When baked correctly, a designed sponge cake is light as air, giving your tastebuds a joyful experience. This isn’t just a lucky accident; the science of whipping air into the egg whites is crucial. British baking guru Mary Berry emphasizes that a well-baked sponge should spring back slightly when pressed—this delicate balance of ingredients is what creates that cloud-like fluffiness we all adore.
In short, designed sponge cakes are a showstopper—they are light, customizable, and sure to impress your guests. So why not take the plunge? With the right techniques, you can master this delightful cake that’s not only a feast for the palate but also a treat for the eyes. Your next gathering deserves it!
Ingredients for Designed Sponge Cakes
Creating designed sponge cakes is all about the right ingredients that work harmoniously for that light and fluffy texture we all love. To start your baking adventure, here’s what you’ll need:
- All-purpose flour: 1 cup – This forms the base, giving the sponge structure without weighing it down.
- Granulated sugar: 1 cup – Sweetness is key, and the sugar not only flavors but also helps create a soft tender crumb.
- Baking powder: 1 tsp – This ensures your cake rises beautifully during baking.
- Salt: A pinch – Just a little helps to enhance the overall flavor.
- Eggs: 4 large – They provide moisture and act as a leavening agent, making your cake airy.
- Unsalted butter: ½ cup (melted) – Adds richness and flavor to the mix.
- Milk: ¼ cup – Contributes to a moist texture; you can also use a non-dairy alternative like almond milk!
When combined, these ingredients yield a delightful sponge that serves as the perfect canvas for your edible designs. Be sure to explore high-quality ingredients, as they can elevate your baking game significantly. For even more tips on improving your sponge cake, you might want to check out resources like King Arthur Baking or Serious Eats for expert advice. Happy baking!
Preparing Designed Sponge Cakes
Creating designed sponge cakes is an art, combining both technique and creativity to produce light and fluffy desserts worthy of any celebration. Whether you’re a seasoned baker or just starting, following these straightforward steps will help you bake the ultimate sponge cake.
Gather your baking tools
Before diving into mixing bowls and baking, it’s essential to have all your tools at the ready. Here’s what you’ll need:
- Mixing bowls: A large one for the batter and a small one for the egg yolks.
- Whisk: An electric mixer or a good old-fashioned whisk will do the job.
- Measuring cups and spoons: Precision is key in baking.
- Sifting sieve: For getting rid of any lumps in your flour and sugar.
- Spatula: Perfect for folding ingredients together without deflating them.
- Cake pans: Round or rectangular is fine; just make sure to line them for easy removal.
Having everything in place will make the baking process smoother. It’s like setting the stage for a performance; you want everything perfectly in order!
Whisk the egg yolks and sugar
Next up, let’s create that beautiful lightness in our cake. Start by taking your egg yolks and combining them with sugar in your mixing bowl.
- Whisk them together until the mixture thickens and turns a light, creamy color. This process allows air to be incorporated, which is essential for fluffy sponge cakes.
Wondering how long to whisk? Aim for about 5-7 minutes with an electric mixer, or a little longer if you’re using a manual whisk. This may seem tedious, but the reward of a light cake is worth the effort; you want that perfect airy consistency.
Incorporate the wet ingredients
Once your egg yolk mixture is ready, it’s time to add the wet ingredients. Traditionally, you’ll want:
- Water or milk: This keeps the cake moist. If you’re after a richer flavor, try using buttermilk.
- Vanilla extract: For that delightful hint of flavor.
Add these ingredients slowly to your egg and sugar mixture, stirring gently to ensure everything is fully combined without losing the air you’ve just whipped in.
Sift and fold in the dry ingredients
Let’s not forget the dry elements! Sifting is crucial because it aerates your flour, helping maintain that spongy texture.
- Combine flour and a pinch of baking powder in a separate bowl.
- Gently fold the dry ingredients into the wet mixture. Use a spatula to cut down through the mixture and turn it over. This technique prevents you from deflating the mix.
Pro tip: If you’re looking to experiment with flavors, consider adding some cocoa powder for a chocolate sponge, or a bit of citrus zest for a refreshing twist.
Pour into pans and get ready for baking
With your batter ready, carefully pour it into your prepared cake pans. It should be evenly distributed to ensure uniform baking. Shake the pans lightly to level the mixture—this helps it rise evenly too!
Bake until golden perfection
Now, for the best part—baking! Place your pans in a preheated oven (usually around 350°F, but make sure to check your recipe specifics).
- Bake for approximately 25-30 minutes, or until the cakes are golden brown and a toothpick inserted into the center comes out clean.
It’s also a good idea to rotate the pans halfway through for an evenly baked sponge cake.
Cool and get creative with decorations
After your cakes have turned that delightful golden brown, remove them from the oven and let them cool in the pans for about 10 minutes. Then, transfer them to a wire rack. Once cool, feel free to unleash your creativity!
You could layer them with fresh fruits, whipped cream, or even a tangy lemon glaze. The sky’s the limit with designed sponge cakes—personalize them to reflect your style or the occasion at hand.
Creating a cake doesn’t only satisfy your sweet tooth; it’s a celebration of creativity. So, roll up your sleeves and get baking—these sponge cakes are bound to impress!
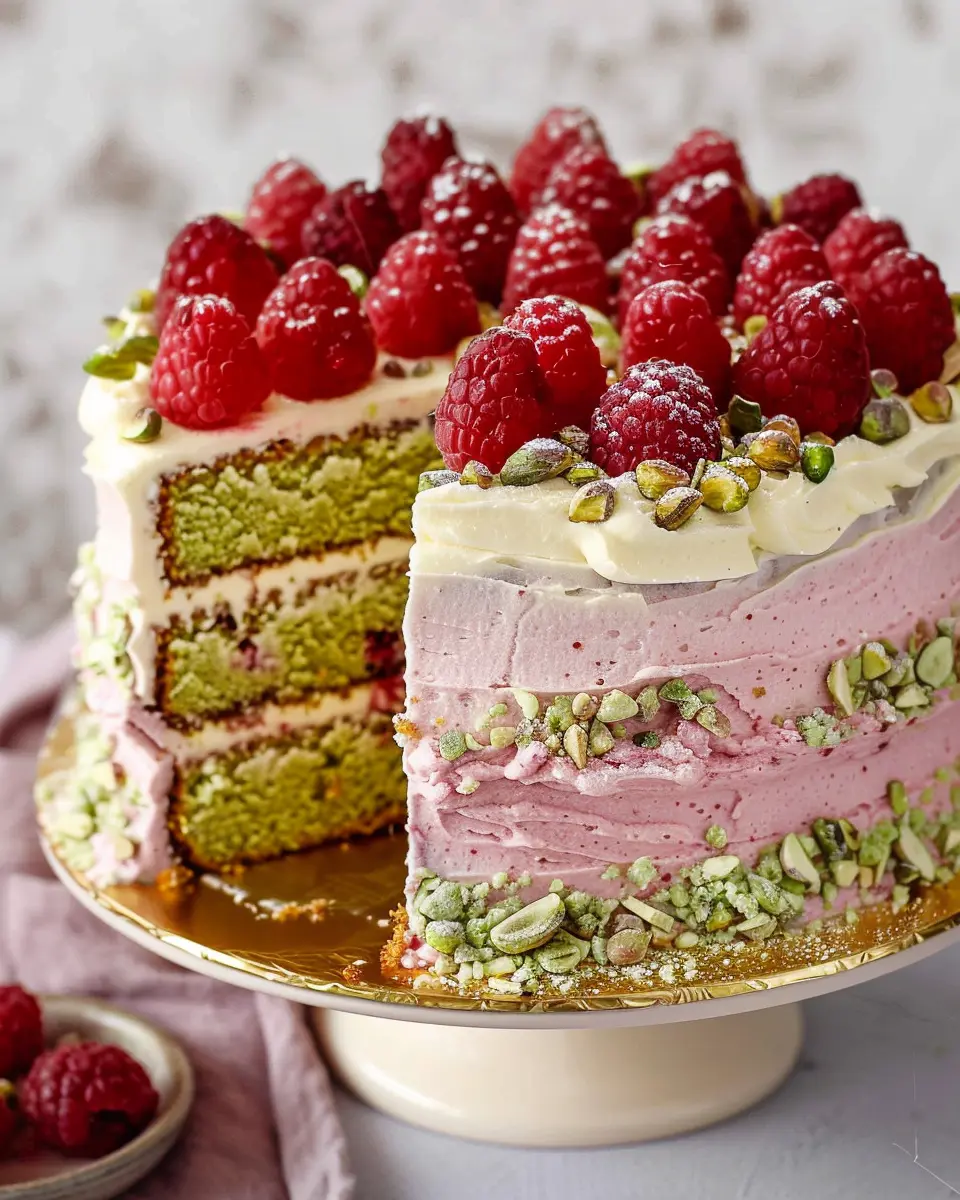
Variations on Designed Sponge Cakes
Sponge cakes are a fantastic canvas to customize flavors for any occasion. Let’s dive into three delightful variations of designed sponge cakes that can truly transform your dessert game.
Citrus-Infused Sponge Cake
Nothing brightens a dessert like vibrant citrus. For a zesty kick, incorporate lemon or orange zest into your batter. The result? A light and airy cake that’s perfect for spring and summer gatherings. You can even soak the layers with a citrus syrup for extra moisture. Serve it with a dollop of whipped cream or a fruit compote to really elevate the flavors! Check out this guide from Taste of Home for tips on zesting citrus fruit.
Matcha-Flavored Sponge Cake
Craving something a bit more adventurous? Matcha brings not only a beautiful green hue but also a unique earthy flavor to your designed sponge cakes. Simply sift in a couple of tablespoons of matcha powder into your dry ingredients, and you’ll have an exquisite cake that’s both delicious and visually stunning. Pair it with a creamy matcha frosting for an impressive treat. Explore more about the benefits of matcha on Healthline.
Chocolate Sponge Cake
For the chocolate lovers among us, a rich chocolate sponge cake is a must! Adding cocoa powder to the batter gives you that deep chocolate flavor while maintaining the classic sponge texture. Top it with a luscious chocolate ganache or a simple dusting of powdered sugar for a finishing touch. If you’re looking for chocolate inspiration, head over to Serious Eats.
With these variations, your designed sponge cakes will cater to any palate, making your baking endeavors a hit!
Baking Tips for Designed Sponge Cakes
Creating beautifully designed sponge cakes can seem daunting, but with the right tips, you’ll master the art in no time!
Choose Quality Ingredients
Start with fresh eggs, as these are essential for a light and fluffy sponge. The quality of your flour also matters; opt for cake flour for the finest texture.
Don’t Skip the Sifting
Sifting your dry ingredients not only helps in aerating them but also ensures there are no lumps. This step is crucial for achieving the desired lightness in your cakes.
Fold Gently
When combining your egg mixture with the dry ingredients, remember to fold instead of stir. This technique preserves the air bubbles, which are key for a fluffy cake.
Use Room Temperature Ingredients
Make sure your eggs and butter are at room temperature. This helps in creating a smooth batter that will rise beautifully.
For further tips and expert advice, check out Bake with Anna Olson, where she provides insights into cake techniques that might inspire your next creation. Remember, practice makes perfect – so don’t hesitate to experiment!

Serving suggestions for Designed Sponge Cakes
Ideal accompaniments for sponge cakes
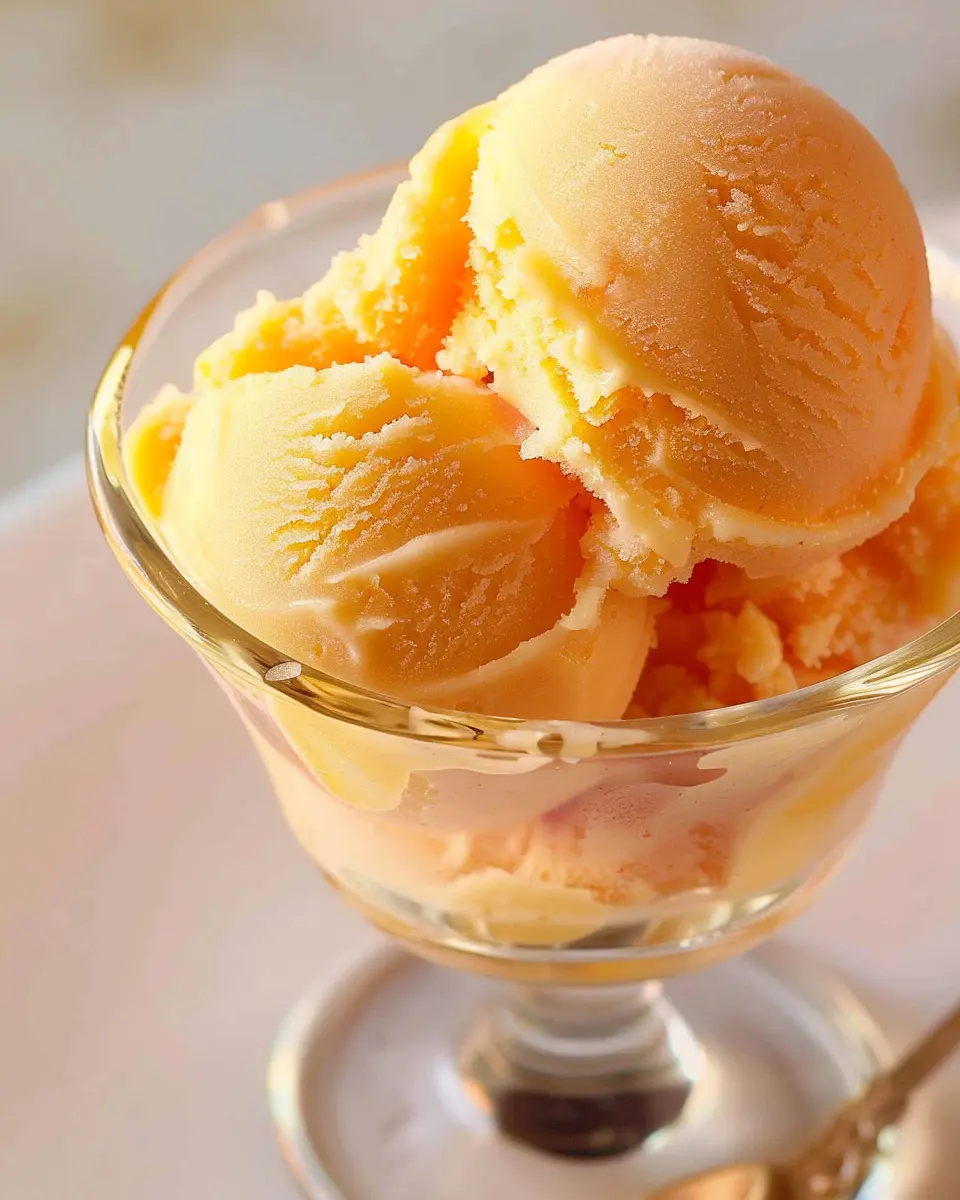
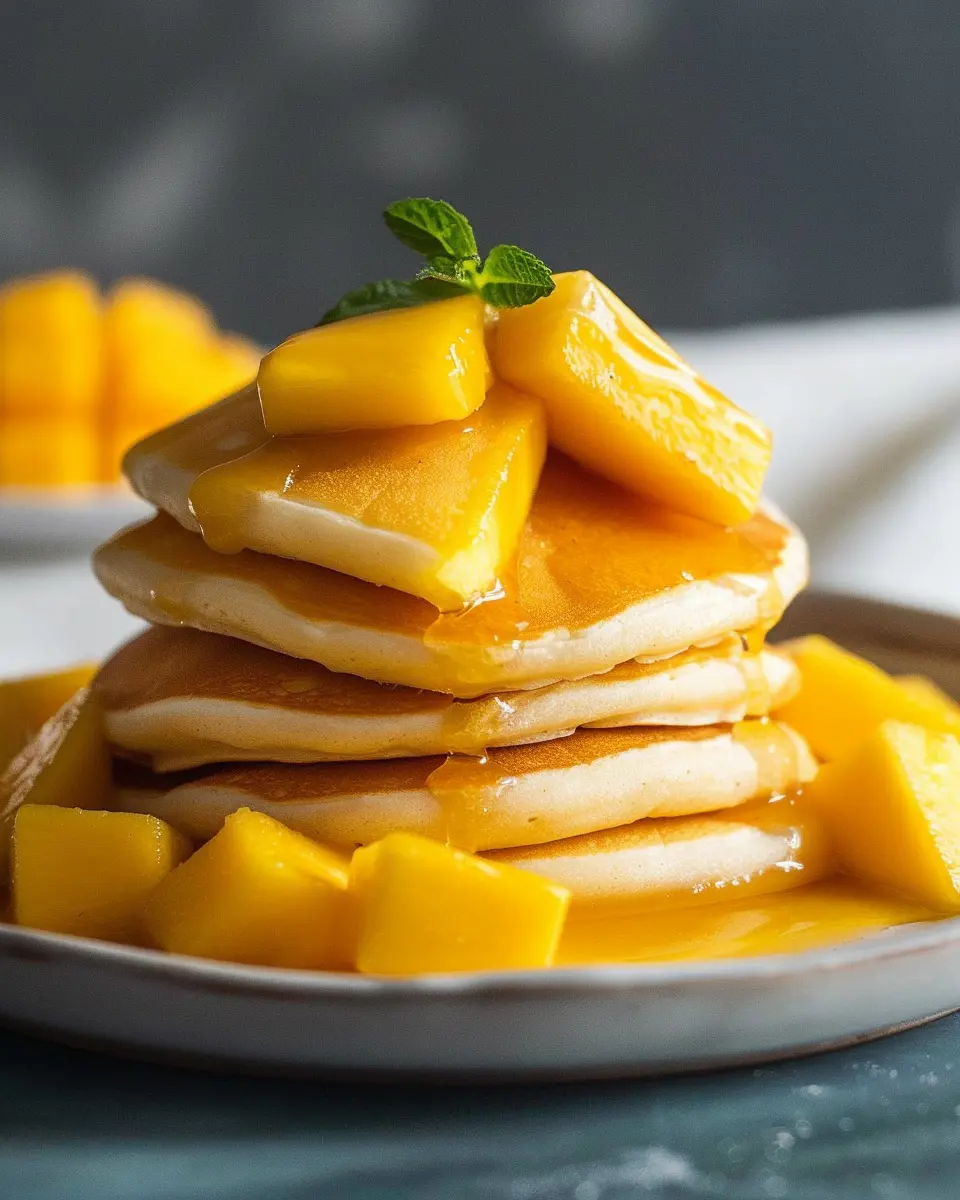
When serving your delightful designed sponge cakes, think about what will elevate that light, fluffy texture. Fresh fruit is always a fantastic choice—consider strawberries, blueberries, or a tropical twist with mango slices. A dollop of whipped cream or a scoop of vanilla bean ice cream can add that creamy richness, creating a delicious contrast to the airy cake.
If you want to surprise your guests, try pairing your sponge cake with a flavored syrup like berry compote or citrus glaze. This not only enhances the visual appeal but also intensifies the flavor profile.
Creative serving ideas
You can get really imaginative with how you serve your designed sponge cakes! Consider layering your slices with creamy fillings or mousse to create stunning dessert stacks. Using cake toppers, edible flowers, or fresh herbs not only looks gorgeous but can also add a surprising flavor dimension.
For a fun twist, cut your designed sponge cakes into smaller portions to serve at gatherings—mini cake bites or themed cake pops can be a hit with friends. For more inspiration, check out Taste of Home’s cake ideas here or explore creative presentations on Pinterest.
Remember, the way you present your cake often adds just as much to the eating experience as the cake itself. So, get creative!
Tips for achieving the perfect Designed Sponge Cake
Creating designed sponge cakes that are both fluffy and visually stunning is a delightful challenge. Here are some tips to help you nail it every time:
Choose the Right Ingredients
- Fresh Eggs: Use large, room-temperature eggs. Fresh eggs whip up better, contributing to that light texture.
- Quality Flour: Opt for cake flour instead of all-purpose flour. This has a lower protein content, which results in a softer crumb.
Master Your Technique
- Whipping the Eggs: When beating the eggs, incorporate air gradually. Whip until pale and thick; this stage is key to achieving height.
- Folding: Gently fold in the flour to maintain airiness. Use a spatula and be patient—it’s worth it!
Temperature Matters
- Oven Preheat: Preheat your oven for at least 20-30 minutes. This ensures even baking from the start.
- Cooling: Allow your cakes to cool completely in the pans for about 10 minutes before transferring to a wire rack to prevent sogginess.
Decorate with Confidence
- Experiment with various fillings, frostings, and design layouts. A simple glaze or cream can elevate your cake’s look and flavor.
Ready to impress with your next designed sponge cake? For more baking techniques, check out King Arthur Baking for practical tips and inspiration!
Time details for Designed Sponge Cakes
Preparation time
Creating your designed sponge cakes begins with about 20 to 30 minutes of preparation. This is when you’ll gather your ingredients, preheat the oven, and whip those eggs to perfection. Don’t forget to grease your cake pans!
Baking time
Once prepped, the baking takes around 25 to 30 minutes. While your cakes are in the oven, the enticing aroma will fill your kitchen—an aspect that certainly builds anticipation for what’s to come!
Total time
In total, you should set aside approximately 1 to 1.5 hours for your designed sponge cakes, factoring in cooling time. This delightful creation not only looks impressive but is surprisingly simple to make. If you’re curious about alternative decorations or fillings, check out this fantastic resource on cake decorating techniques for extra inspiration!
Baking is a fantastic way to unwind while crafting something beautiful. Have you ever tried flavoring your sponge with zests or purees for an extra layer of taste? The possibilities are endless!
Nutritional information for Designed Sponge Cakes
When indulging in designed sponge cakes, it’s helpful to understand their nutritional profile. Here’s a quick breakdown:
Calories
A slice of designed sponge cake typically contains around 150-200 calories, depending on the ingredients and portion size. This makes it a delightful treat without being overly indulgent.
Protein
For those looking to get a little protein from their desserts, each serving offers about 3-5 grams. This might not seem like much, but every bit helps when you’re balancing your diet!
Sodium
Most designed sponge cakes are low in sodium, usually containing just 100-150 mg per slice. Keeping sodium levels in check is important, especially if you’re watching your intake for health reasons.
By being mindful of these factors, you can enjoy your cakes while maintaining a balanced diet. If you’re curious to explore further, the USDA provides detailed information on various ingredients that make up your favorite desserts. For a fun twist, consider pairing your sponge cake with fresh fruits or low-sugar sauces for added flair!
FAQs about Designed Sponge Cakes
How can I ensure my sponge cake is light and fluffy?
Achieving those heavenly, light and fluffy textures in designed sponge cakes starts with the right technique. Here are some tips to get you there:
- Room Temperature Ingredients: Make sure your eggs and butter are at room temperature. This allows for better aeration when you cream them together.
- Sift Your Dry Ingredients: Sifting flour can aerate it, helping to incorporate air and give the cake a lighter texture.
- Gently Fold: When combining wet and dry ingredients, use a gentle folding motion with a spatula. Avoid overmixing, which can deflate the batter.
For more insights on cake chemistry, check out this resource on cake baking that breaks down the science behind light cakes.
What’s the best way to store sponge cakes?
To maintain the fluffiness of your designed sponge cakes, store them properly:
- Cool Completely: Let the cake cool completely before storing it. Warm cakes can create condensation, leading to sogginess.
- Wrap Tightly: Use plastic wrap or an airtight container to keep moisture out.
- Refrigerate or Freeze: If you’re not eating it soon, you can refrigerate your sponge cake for up to three days or freeze it for longer storage. Just remember to thaw in the fridge before serving.
Can I make a smaller batch of sponge cake?
Absolutely! If you’re only serving a few people or want to try different flavors, scaling down your designed sponge cake recipe is totally doable. Just divide the ingredient quantities proportionately.
Feel free to experiment with flavor variations or check out our full recipe for inspiration. It’s all about getting creative while keeping those delightful textures intact!
Conclusion on Designed Sponge Cakes
Designed sponge cakes truly embody the essence of celebration, combining lightness with endless creativity. Whether you’re baking for a birthday, wedding, or simply a cozy gathering, their versatility makes them the perfect choice. Remember to experiment with flavors, fillings, and decorations to give each cake a personal touch.
A successful sponge cake hinges on the perfect balance of ingredients, technique, and a pinch of patience. So, why not gather your friends for a baking session? After all, nothing beats the joy of savoring your homemade creations. For more tips on cake decorating and baking techniques, you can check out BBC Good Food’s baking guides. Happy baking!
PrintDesigned Sponge Cakes: Light and Fluffy Creations You’ll Love
Discover the art of making designed sponge cakes that are not only light and fluffy but also visually stunning. Perfect for all occasions!
- Prep Time: 15 minutes
- Cook Time: 30 minutes
- Total Time: 45 minutes
- Yield: 1 cake 1x
- Category: Dessert
- Method: Baking
- Cuisine: General
- Diet: Vegetarian
Ingredients
- 4 large eggs
- 1 cup granulated sugar
- 1 cup all-purpose flour
- 1/4 cup unsalted butter, melted
- 1 teaspoon vanilla extract
- 1 teaspoon baking powder
- 1/4 teaspoon salt
Instructions
- Preheat the oven to 350°F (175°C) and grease a round cake pan.
- Whisk the eggs and sugar together in a bowl until light and fluffy.
- Gently fold in the flour, baking powder, and salt.
- Stir in the melted butter and vanilla extract until well combined.
- Pour the batter into the prepared cake pan and smooth the top.
- Bake for 25-30 minutes or until a toothpick inserted into the center comes out clean.
- Let the cake cool in the pan for 10 minutes before transferring it to a wire rack.
Notes
- Ensure eggs are at room temperature for best results.
- You can add food coloring or cocoa powder for different variations.
Nutrition
- Serving Size: 1 slice
- Calories: 200
- Sugar: 15g
- Sodium: 200mg
- Fat: 8g
- Saturated Fat: 5g
- Unsaturated Fat: 2g
- Trans Fat: 0g
- Carbohydrates: 30g
- Fiber: 1g
- Protein: 4g
- Cholesterol: 70mg
Keywords: sponge cake, light cake, fluffy cake, designed cakes