Introduction to Brain Cake
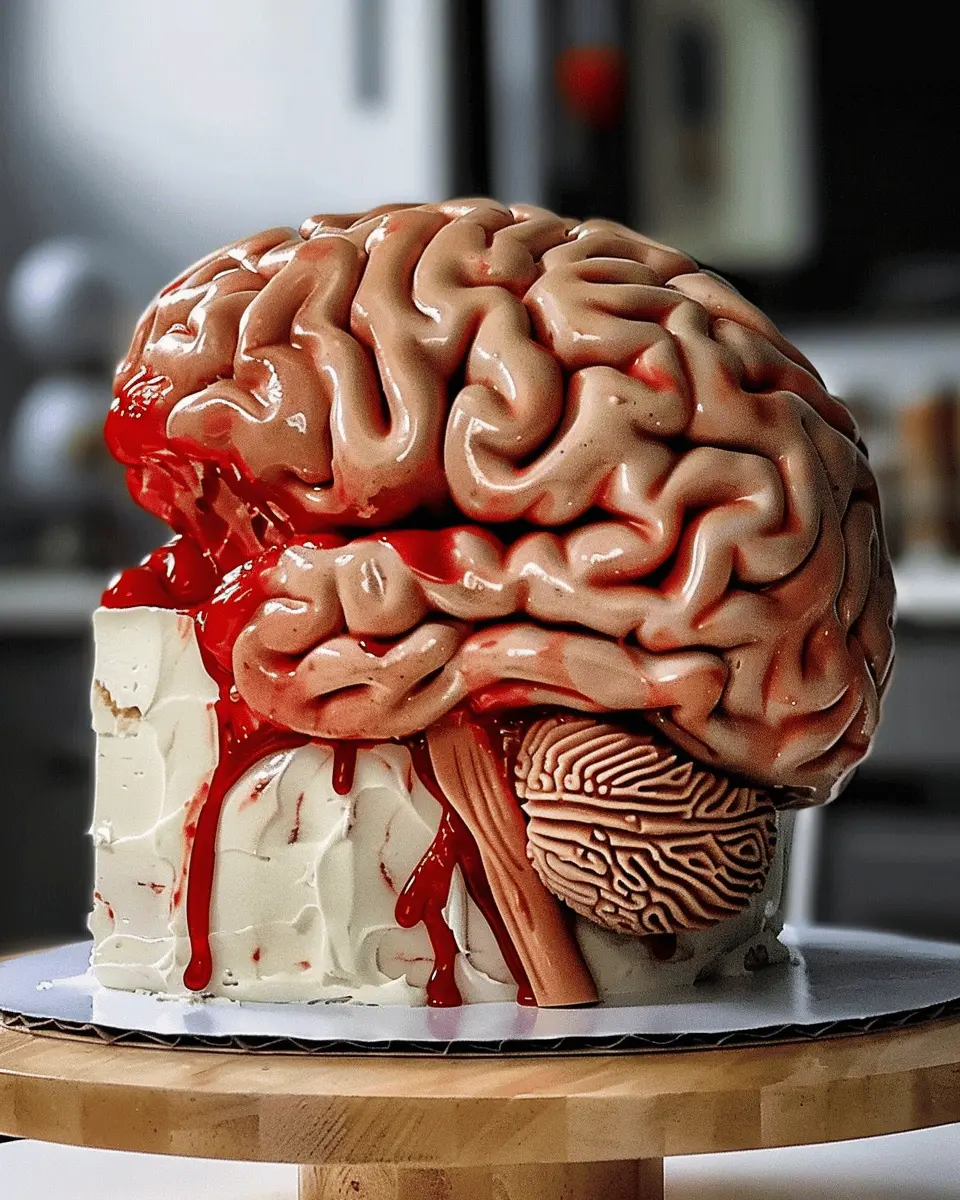
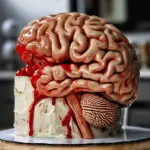
As the leaves change color and the air turns crisp, we know that Halloween is just around the corner. And what better way to celebrate this spooky season than with a delightful and simultaneously eerie treat—brain cake! This dessert not only satisfies your sweet tooth but doubles as a fun conversation starter. Imagine how impressed your friends will be when you present a cake that looks like a brain!
What makes brain cake the perfect dessert for Halloween? For starters, its unique appearance creates an immediate wow factor. Layered with flavors and textures, this cake is not just about looks; it’s also incredibly delicious. Think moist sponge cake that’s decadently frosted with a creamy layer of frosting, making it a showstopper for any Halloween gathering.
You can customize your brain cake with various flavors, from rich chocolate to zesty lemon, allowing you to cater to everyone’s taste preferences. Whether you go for a fun vanilla cake with strawberry filling or a dark chocolate affair, the choice is yours. For more ideas on flavor combinations that will knock your friends’ socks off, check out this guide to cake flavors from BBC Good Food.
In terms of assembly, it might sound intimidating, but trust me—once you get the hang of squishing that cake into a mold, it’s a delightful process. And yes, it’ll impress your guests, making it a memorable part of your Halloween festivities.
As you gather your ingredients—think colorful sprinkles, vibrant food dyes, and perhaps even some edible glitter—don’t forget to set the scene. Consider pairing your brain cake with some playful Halloween decorations or themed serving dishes to truly elevate your dessert table. If you’re not sure where to start, Pinterest is full of ideas for creating that perfect Halloween ambiance.
So roll up your sleeves and get ready to dive into the eerie and delicious world of brain cake. Whether you’re hosting a Halloween bash or simply looking to satisfy your own sweet cravings, this cake is sure to be a spooky hit!
Ingredients for Brain Cake
Creating a Brain Cake might seem daunting, but gathering the right ingredients makes the process enjoyable! Here’s what you’ll need to whip up this delightfully eerie dessert.
Essential ingredients for the red velvet cake
To make the red velvet cake base, you will need:
- 2 ½ cups all-purpose flour
- 1 ½ cups granulated sugar
- 1 cup vegetable oil
- 1 cup buttermilk
- 2 large eggs
- 2 tablespoons cocoa powder
- 1 teaspoon baking soda
- 1 teaspoon vanilla extract
- 1 teaspoon white vinegar
- A generous amount of red food coloring
These ingredients come together to create that beautifully rich color and signature flavor. Don’t forget to use high-quality cocoa for the best results!
Key ingredients for cream cheese buttercream frosting
Now, for the luscious cream cheese buttercream frosting, gather:
- 1 cup unsalted butter, softened
- 8 oz cream cheese, softened
- 4 cups powdered sugar
- 1 teaspoon vanilla extract
- A pinch of salt
This frosting not only pairs perfectly with the cake but also adds a delightful creaminess and can be easily tinted for a spooky effect.
Components for the edible fake blood
To make the edible fake blood, you’ll require:
- 1 cup corn syrup
- 1 tablespoon red food coloring
- 1 tablespoon cocoa powder (for a deeper color)
- A splash of water for consistency
Mix these ingredients until smooth, and you’ll have a chilling yet tasty topping for your cake.
Each component plays a significant role in crafting your perfect Brain Cake. With these ingredients on hand, you’re all set to create a show-stopping dessert! For more insights on baking fun and festive treats, check out resources like Baking Science or The Better Baking Bible.
Preparing Brain Cake
There’s something undeniably captivating about a brain cake that makes it perfect for Halloween parties, themed events, or even a spine-chilling surprise for friends. Let’s dive into the step-by-step process of creating this delightfully eerie dessert.
Gather Your Equipment
Before we dive into the culinary witchcraft, let’s make sure you have all your tools ready. Here’s a simple list to get you started:
- Two 8-inch round cake pans
- Mixing bowls
- Electric mixer (or a whisk if you’re feeling ambitious)
- Measuring cups and spoons
- Cooling rack
- Piping bags (or a simple ziplock bag with the corner snipped)
- A large platter or board for assembling your spooky creation
Taking the time to gather your tools makes the brain cake creation so much smoother, and it saves you from scrambling around the kitchen in the heat of baking.
Make the Red Velvet Cake Batter
Now, let’s whip up the star of the show: the cake! You’ll need:
- 2 ½ cups all-purpose flour
- 1 ¾ cups granulated sugar
- 1 teaspoon baking soda
- 1 teaspoon salt
- 2 cups vegetable oil
- 1 cup buttermilk
- 2 large eggs
- 2 tablespoons red food coloring
- 1 teaspoon vanilla extract
- 1 tablespoon white vinegar
Start by preheating your oven to 350°F (175°C). In a large mixing bowl, combine the dry ingredients—flour, sugar, baking soda, and salt. In another bowl, whisk together the wet ingredients: oil, buttermilk, eggs, food coloring, vanilla, and vinegar. Gradually mix the dry ingredients into the wet ingredients until well combined. Don’t fret if your batter looks a bit lumpy; that’s part of the charm!
For more baking tips, you can check out resources like King Arthur Baking.
Bake the Cake Layers
Divide your batter evenly between the two greased cake pans. Bake for about 30-35 minutes or until a toothpick comes out clean when inserted in the center—it’s a good way to ensure your layers are perfectly baked! Once done, let them cool in the pans for about 10 minutes and then transfer them to a wire rack to cool completely.
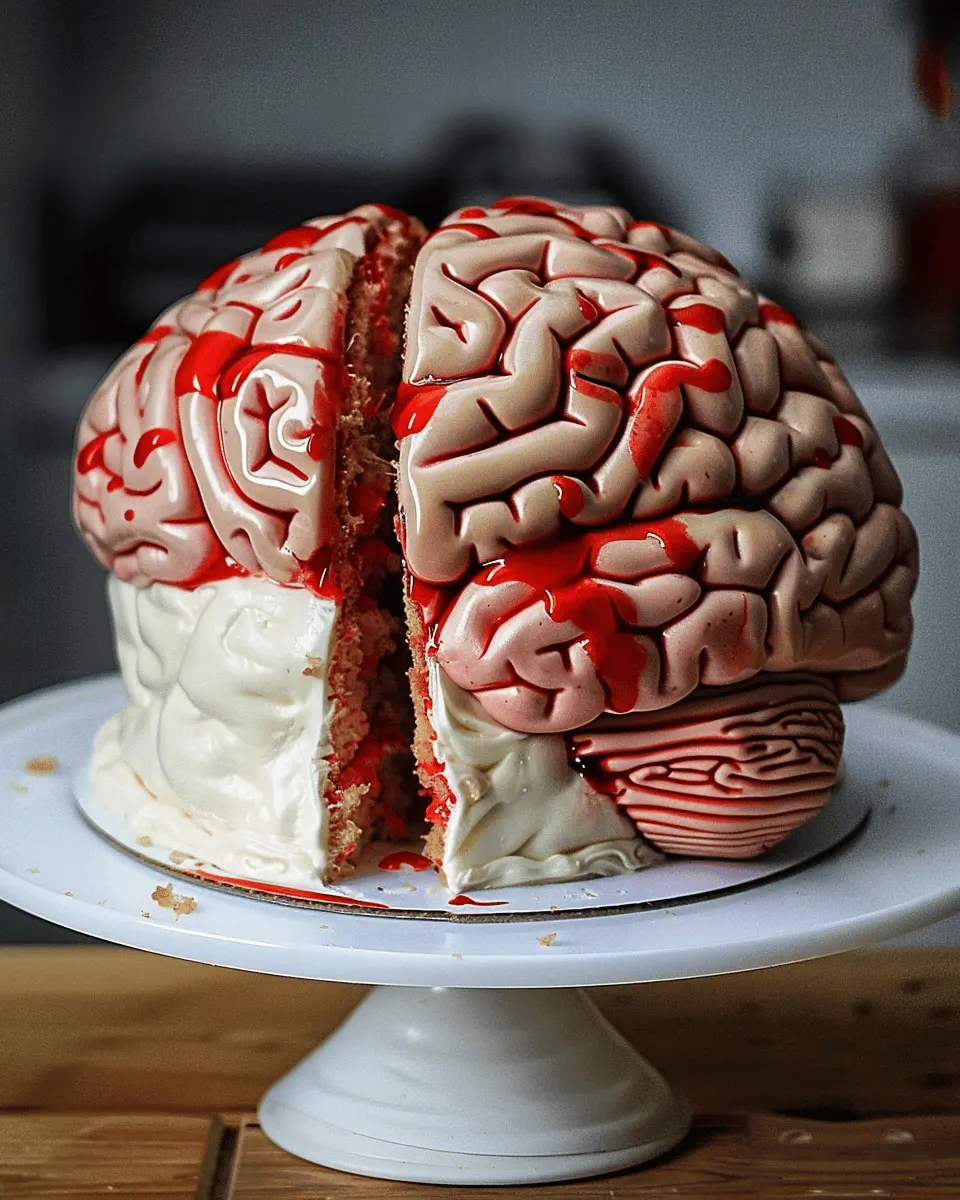
Cool and Shape the Cake
Once your cake layers are cool, it’s time to get creative! If you’re aiming for that unmistakable brain cake look, carefully trim the tops of the cakes so they’re flat. You can also use a sharp knife or a serrated knife for this. Don’t worry about imperfections—as you’ll see, we want to emphasize that realistic brain look!
Prepare the Cream Cheese Buttercream
Now comes the icing! For the cream cheese buttercream, you’ll require:
- 1 cup unsalted butter, softened
- 8 oz cream cheese, softened
- 5 cups powdered sugar
- 1 teaspoon vanilla extract
Beat the butter and cream cheese together until smooth, then gradually add the powdered sugar, mixing until fluffy. This buttercream not only provides a delicious kick to your brain cake but also serves as the perfect adhesive for our cake assembly.
Assemble and Frost the Brain Cake
Place one layer of cake on your serving platter. Spread a generous amount of buttercream on top before placing the second layer on. Use the remaining cream cheese frosting to cover the entire cake. Don’t worry about making it perfect—this cake is all about that creepy aesthetics!
Create the Edible Fake Blood and Decorate
To add a thrilling twist, let’s make some edible fake blood for decoration. Mix the following:
- ½ cup corn syrup
- Red food coloring
- A few drops of blue food coloring (to achieve that darker blood tone)
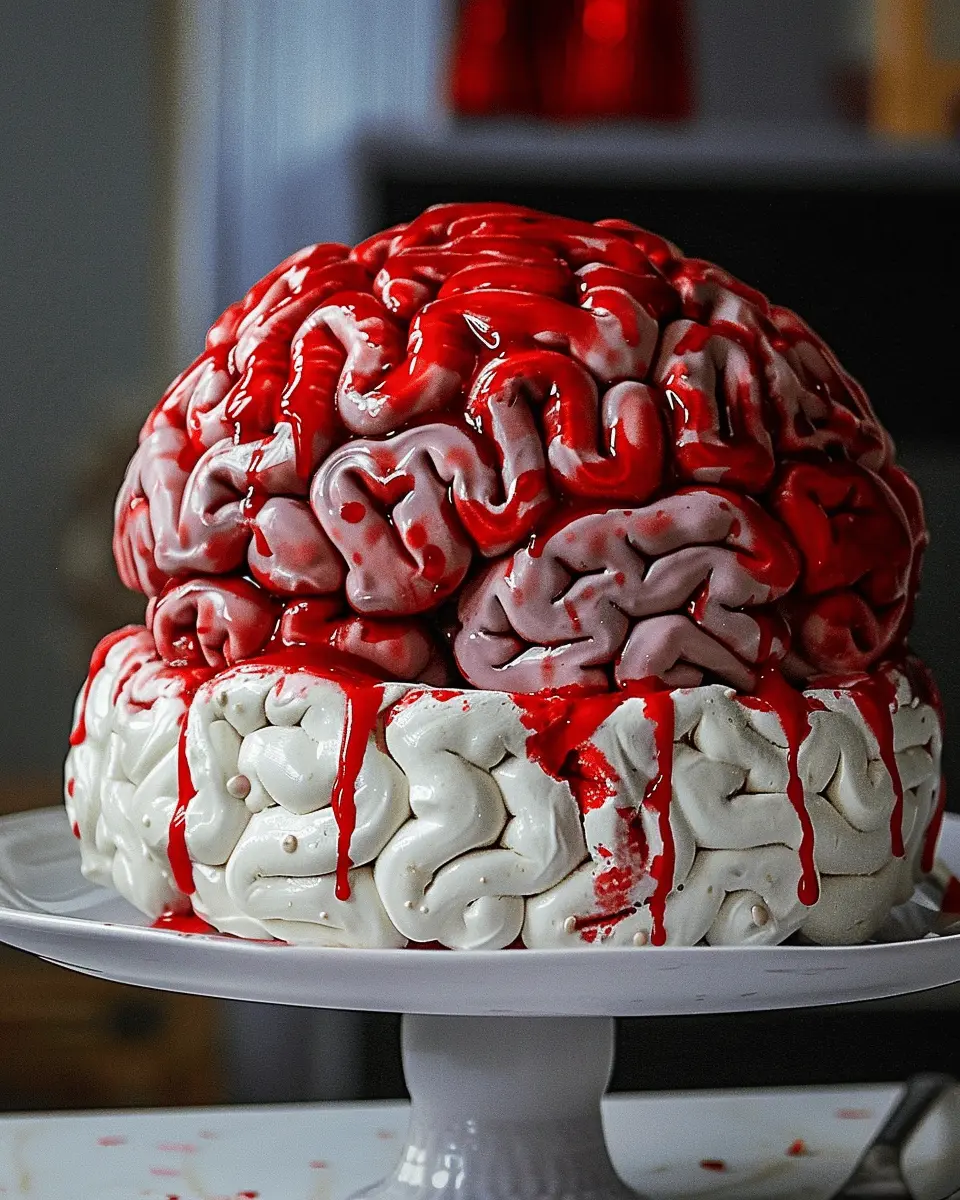
Drizzle this concoction over the top of your cake, allowing it to cascade down the sides for a chilling effect. Finally, use a piping bag to add more intricate details that mimic the appearance of brain folds.
With each step, you’ll find your cake becoming more and more alive (pun intended). Enjoy the process and have fun with it! Your brain cake will surely be the centerpiece of your celebration!
Variations on Brain Cake
Mini Brain Cakes for Individual Servings
If you’re looking to add a personal touch to your next gathering, consider mini brain cakes. These delightful bite-sized versions offer the same spooky charm as the traditional cake but make for easy serving and portion control. Simply use a silicone mold designed for mini cakes or cupcakes. Pour your favorite batter in, bake until golden, and decorate with edible color gels to create those infamous brain ridges. This intriguing presentation not only amps up your dessert table but also makes your treats more shareable!
Exploring Different Cake Layer Flavors
Why stick to vanilla when you can explore a rainbow of flavors for your brain cake layers? For a twist, you might try:
- Chocolate: Deep, rich chocolate pairs beautifully with a raspberry filling, giving it a lovely contrast.
- Lemon: A zesty lemon flavor adds a refreshing note, perfect for those springtime get-togethers.
- Carrot: Incorporate shredded carrots for a subtly sweet and moist cake that’s sure to impress.
Experimenting with flavors enhances the overall experience and ensures there’s something for everyone. If you’re feeling adventurous, blending flavors can create truly unique combinations!
Vegan and Dairy-Free Options for Brain Cake
Inclusivity in dessert is essential. Thankfully, crafting a delicious vegan and dairy-free brain cake isn’t just a dream! Use ingredients like almond milk or coconut milk to replace dairy, and consider swapping eggs for mashed bananas or flaxseed mixtures. Not only does this cater to those with dietary restrictions, but it also introduces a whole new audience to your dessert.
For inspiration and tips on creating balanced vegan desserts, check out this resource from The Vegan Society to spark your creativity!
Next time you’re in the kitchen, think about these fun variations and let your imagination go wild. Your guests will be begging for the recipe!
Baking notes for Brain Cake
Tips for measuring ingredients accurately
Accurate measurements are crucial for your brain cake to turn out perfectly. Use a kitchen scale for dry ingredients, as this will give you the best precision. For liquids, a clear measuring cup is your friend—make sure to read at eye level to avoid discrepancies. Pro tip: fluff up your flour before scooping it into the measuring cup for a more accurate measure. This simple technique can prevent a dry cake.
How to achieve the perfect frosting consistency
Frosting can make or break your brain cake. Aim for a smooth, spreadable texture that’s easy to work with. Start with softened butter and gradually add powdered sugar. If it’s too thick, add a splash of cream or milk until you reach your desired consistency. A great resource for expert frosting techniques is Wilton’s guide on frosting here.
Cooling tips for better stacking
Once your cake is baked, patience is key! Let your brain cake cool in the pan for about 15 minutes before transferring it to a wire rack. This helps avoid a soggy bottom. To avoid cracking when stacking, cool completely and consider leveling the tops with a serrated knife. Stacking a perfectly cooled cake ensures your masterpiece remains intact and looks fabulous!
Serving suggestions for Brain Cake
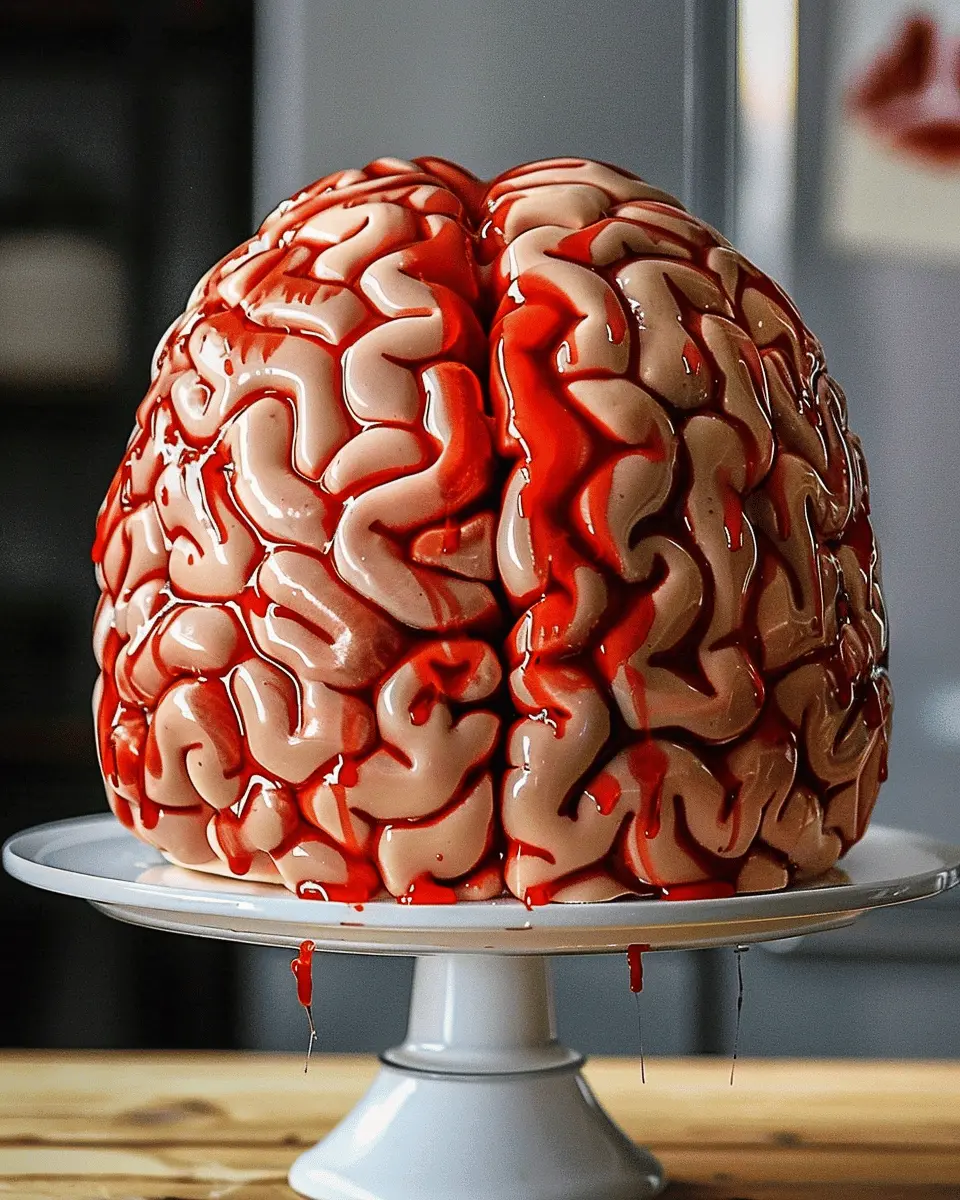
Presentation ideas for a spookier effect
To elevate your brain cake into a true centerpiece, consider using eerie décor. Drape your cake with a thin layer of gray or green fondant to mimic the appearance of brain tissue. Add some chocolate sauce drizzles to create that realistic “oozing” effect. For extra flair, scatter gummy worms around the cake, or even atop it, to lure in guests with a playful scare. Serving the cake on a black or dark purple platter can enhance the spooky ambiance, making it a perfect highlight for Halloween parties or themed gatherings.
Pairing suggestions for drinks or other desserts
When it comes to pairing with drinks, think outside the box! A chilled pumpkin spice latte or a zesty apple cider can complement the flavors of your brain cake beautifully. These seasonal favorites not only add to the festive atmosphere but also resonate well with your cake’s rich textures. For dessert pairings, why not serve it alongside spooky sugar cookies or chocolate-covered strawberries dressed as eyeballs? These treats not only diversify your dessert table but also keep the creepy theme alive. Looking for fun inspiration? Check out resources like Taste of Home for more creative ideas.
Remember, presentation and pairing can transform even the simplest of cakes into an exciting experience for your guests, leaving them both spooked and satisfied!
Tips for Making the Perfect Brain Cake
Creating a stunning brain cake can be both a fun and a rewarding experience. Here are some essential tips to ensure your baking adventure is a success:
Best Practices to Ensure a Successful Bake
- Quality Ingredients Matter: Start with fresh, high-quality ingredients. A rich buttercream or moist cake layer can make all the difference in flavor and texture.
- Room Temperature: Make sure your eggs and butter are at room temperature for the best mixing. This helps create a smooth batter that bakes evenly.
- Follow the Recipe: Stick closely to your chosen recipe, including baking times and temperatures. It’s tempting to improvise, but precision is key in baking.
For more baking insights, consider checking out thekitchn.com, where you’ll find expert advice.
Creative Decorating Ideas for Your Brain Cake
Why not step outside the box? Besides the classic red and grey tones often associated with a brain cake, consider:
- Edible Glitter: A touch of edible glitter can give your cake a whimsical, eye-catching flair.
- Fruit Garnishes: Fresh berries or even edible flowers can contrast the cake’s appearance, adding brightness and freshness.
The possibilities are endless! Dive into your creative side and let your cake reflect your personal style.
Utilizing Leftover Ingredients
Don’t let those extra ingredients go to waste! If you find yourself with leftover frosting or cake scraps, try these ideas:
- Cake Pops: Crumble the leftover cake and mix with frosting to create delicious cake pops, a perfect bite-sized treat.
- Frosting Swirls: Use leftover frosting to create artistic designs on cookies or other baked goods.
By thinking creatively, you can turn leftovers into delightful new treats that complement your brain cake beautifully.
With these tips, your brain cake is sure to be the star of any gathering! Happy baking!
Time Details for Brain Cake
When you’re in the mood to whip up a delicious brain cake, it’s essential to know how much time you should allocate for this delightful treat. Let’s break it down:
Preparation Time
Set aside about 20-30 minutes for preparation. This includes gathering your ingredients, mixing your batter, and getting your pan ready. Make sure you have everything in place to streamline your baking process. Pro tip: Using pre-measured ingredients can save you some time!
Baking Time
Your brain cake will need about 45-55 minutes in the oven. Keep an eye on it toward the end — a toothpick test is your best friend here! Insert it into the center; if it comes out clean, it’s time to take it out.
Total Time
In total, you’re looking at approximately 1 hour and 15 minutes to 1 hour and 25 minutes from start to finish. This delightful brain cake is worth every second, so don’t rush the process! With a little patience, you’ll create a cake that’s as fun to look at as it is to eat.
For more tips on perfecting your baking skills, check out BBC Good Food for additional resources and recipes.
Nutritional Information for Brain Cake
Calories per serving
When indulging in a slice of Brain Cake, it’s essential to be mindful of the calories. Each serving typically contains around 250 calories. This makes it a delightful treat that won’t completely derail your daily caloric intake. So, feel free to enjoy it during your next gathering or cozy night in!
Key nutritional breakdown
The Brain Cake is not just about the taste; it also offers a unique nutritional profile that can surprise you:
- Carbohydrates: Approximately 30g, providing you with a quick energy boost.
- Protein: Around 5g, helping to keep you feeling full longer.
- Fats: About 10g, including healthy fats that can be beneficial in moderation.
- Fiber: With a good amount of fiber (3g), this cake can help with digestion.
If you’re curious about how these ingredients work together to support brain health, check out resources like Healthline for more insights. Making Brain Cake can be a fun and nourishing way to treat yourself and your friends. Enjoy!
FAQs about Brain Cake
Making a brain cake can be an adventurous yet fulfilling culinary project. Here are some frequently asked questions to help guide you through the process.
Can I make this cake in advance?
Absolutely! You can prepare your brain cake layers a day or two ahead of time. Just ensure that they cool completely before wrapping them tightly in plastic wrap. This helps preserve their moisture and protects against any refrigerator odors. When you’re ready to assemble, simply let them warm up for a bit before frosting. For more tips on cake storage, check out this guide from The Cake Blog.
What should I do if my cake layers crumble?
Crumbling cake layers can be frustrating, but don’t panic! Here are some quick fixes:
- Use cake crumbs: If they break, you can create a cake crumb layer or even cake pops.
- Add syrup: A light drizzle of simple syrup can help moisten the layers.
- Frosting glue: When stacking, use a little frosting to hold the layers together.
Remember, even the pros have their off days. It’s all about improvisation and creativity!
How can I adjust the recipe for smaller servings?
If you’re hosting a smaller gathering or testing your brain cake skills, you can easily adjust the recipe!
- Cut the ingredients in half: A straightforward method, but be mindful of the baking time, as smaller cakes often cook faster.
- Use a smaller pan: Opt for an 8-inch round pan instead of a standard 9-inch.
Scaling down can offer a delicious way to enjoy this fun dessert without overwhelming your guest list. Happy baking!
Conclusion on Brain Cake
Final thoughts on making this creative dessert for Halloween
Creating a brain cake for Halloween is not just about impressing your guests; it’s about celebrating the spirit of the season with creativity and a touch of whimsy. As you experiment with textures and fillings, remember to embrace the playful side of baking. This dessert can easily become the star of your Halloween festivities, sparking laughter and conversation.
If you’re looking for inspiration beyond this recipe, consider exploring other festive treats that incorporate similar themes. Websites like Food Network or BBC Good Food often have innovative ideas to make your gathering unforgettable. So don your apron, get your cake molds ready, and let your imagination run wild with this delightful and eerie brain cake!
PrintBrain Cake: The Indulgent Treat That Will Wow Your Guests
A delicious Brain Cake that is sure to impress your guests with its unique design and rich flavors.
- Prep Time: 20 minutes
- Cook Time: 35 minutes
- Total Time: 55 minutes
- Yield: 12 servings 1x
- Category: Dessert
- Method: Baking
- Cuisine: American
- Diet: Vegetarian
Ingredients
- 2 cups all-purpose flour
- 1 cup granulated sugar
- 1 cup unsweetened cocoa powder
- 1 tablespoon baking powder
- ½ teaspoon salt
- 1 cup milk
- ½ cup vegetable oil
- 3 large eggs
- 2 teaspoons vanilla extract
Instructions
- Preheat the oven to 350°F (175°C).
- In a large bowl, mix together the flour, sugar, cocoa powder, baking powder, and salt.
- Add the milk, vegetable oil, eggs, and vanilla extract to the dry ingredients and mix until well combined.
- Pour the batter into a greased cake pan and bake for 30-35 minutes or until a toothpick comes out clean.
- Let the cake cool before decorating.
Notes
- For a more intense chocolate flavor, use dark cocoa powder.
- Experiment with different toppings to enhance the Brain Cake’s appearance.
Nutrition
- Serving Size: 1 slice
- Calories: 350
- Sugar: 28g
- Sodium: 200mg
- Fat: 16g
- Saturated Fat: 2g
- Unsaturated Fat: 10g
- Trans Fat: 0g
- Carbohydrates: 45g
- Fiber: 3g
- Protein: 5g
- Cholesterol: 40mg
Keywords: Brain Cake