Introduction to Mrs. Fields Chocolate Chip Cookies
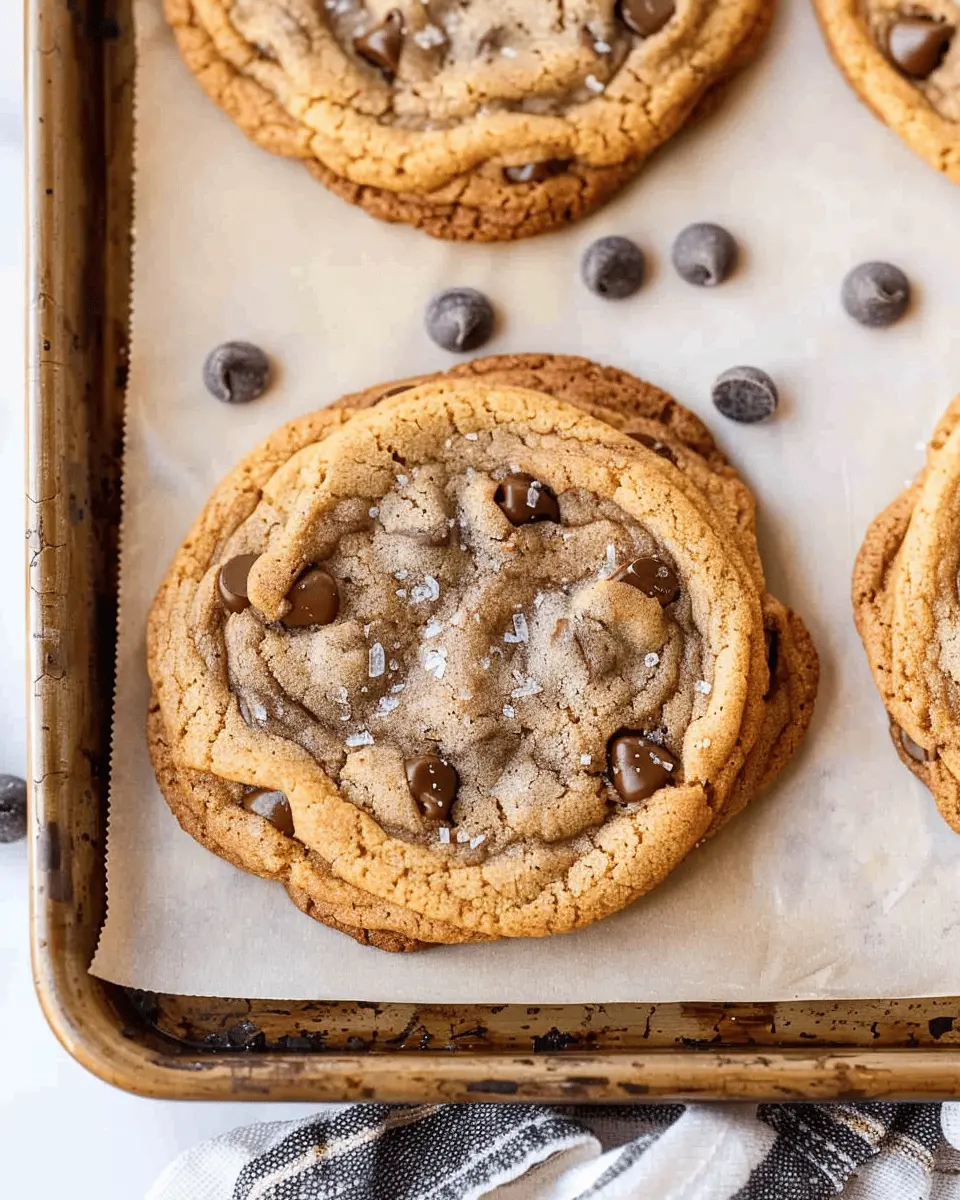
There’s something undeniably comforting about a fresh-baked cookie, and when it comes to Mrs. Fields Chocolate Chip Cookies, they truly sit at the top of the cookie hierarchy. Widely loved for their soft and chewy texture, they’re the quintessential treat that brings back fond memories and sparks joy in every bite. Whether you’re revisiting childhood memories or creating new ones, these cookies have a unique ability to bring smiles.
Why are Mrs. Fields Chocolate Chip Cookies a classic favorite?
So, what makes Mrs. Fields Chocolate Chip Cookies so special? For starters, it’s all about the ingredients. These cookies are packed with high-quality, rich chocolate chips that melt beautifully, creating gooey pockets of bliss. The combination of brown sugar and granulated sugar bestows that perfect balance of sweetness you crave—a little crunchy on the outside while remaining soft on the inside.
Moreover, there’s a nostalgia factor at play. Mrs. Fields started her cookie empire way back in 1977, and since then, her recipes have become a staple in American households. The experience of biting into one of her cookies may transport you to the local mall or a cozy café, reminding you of gathering around with friends and family.
But the consistency and quality outline the true magic of Mrs. Fields Chocolate Chip Cookies. According to a survey by Food & Wine, cookies are one of the most popular desserts among young adults, with chocolate chip cookies taking the crown as the all-time favorite.
Want to impress your guests? You’ll find that baking these cookies at home can fill your kitchen with a mouthwatering aroma—inviting even the most discerning of cookie lovers to gather around. Plus, once you’ve mastered the recipe, you can experiment with various add-ins like nuts or even a hint of sea salt on top for an added flavor punch.
In summary, Mrs. Fields Chocolate Chip Cookies are more than just a dessert; they are a delightful experience of comfort, nostalgia, and indulgence. So why not preheat your oven and dive into this irresistible recipe? Your taste buds will thank you! For those looking to deepen their cookie expertise, check out resources like the Joy of Baking for more baking tips and techniques.
Ingredients for Mrs. Fields Chocolate Chip Cookies
Essential ingredients for the perfect cookie
Creating Mrs. Fields chocolate chip cookies at home is a delightful experience, and it all begins with the perfect ingredients. Here’s what you need:
- All-purpose flour: 2 ¼ cups — forms the cookie base.
- Baking soda: 1 teaspoon — helps them rise just right.
- Salt: ½ teaspoon — balances the sweetness.
- Unsalted butter: 1 cup, softened — the secret to a rich, buttery flavor.
- Brown sugar: ¾ cup packed — adds moisture and a hint of caramel.
- Granulated sugar: ¾ cup — for that classic cookie sweetness.
- Vanilla extract: 1 teaspoon — enhances the overall flavor.
- Eggs: 2 large — binds everything together.
- Semi-sweet chocolate chips: 2 cups — the heart of your cookies!
For helpful tips on ingredient substitutions, check out this article from the Food Network.
Optional add-ins to elevate your cookies
Want to take your Mrs. Fields chocolate chip cookies to the next level? Consider these tasty add-ins:
- Chopped nuts (like walnuts or pecans) for crunch.
- White chocolate chips for a sweet twist.
- Dried fruit (like cranberries or cherries) to add a touch of tartness.
- Peanut butter chips for an irresistible flavor combo.
These optional ingredients can transform your cookies, making them uniquely yours. So, which ones will you choose?
Step-by-Step Preparation of Mrs. Fields Chocolate Chip Cookies
Baking Mrs. Fields Chocolate Chip Cookies is a delightful way to indulge in a little nostalgia while treating yourself and your friends or family to a classic favorite. These cookies are known for their soft, chewy texture and rich flavor, making them perfect for any occasion. Let’s go through the preparation step by step, ensuring you have everything you need for cookie perfection!
Gather your ingredients
Before diving into the mixing bowl, it’s crucial to gather all your ingredients. Here’s what you’ll need:
- 1 cup (2 sticks) unsalted butter, softened
- 1 cup granulated sugar
- 1 cup brown sugar, packed
- 2 large eggs
- 2 teaspoons vanilla extract
- 3 cups all-purpose flour
- 1 teaspoon baking soda
- 1 teaspoon salt
- 2 cups semisweet chocolate chips
Make sure to have everything measured out and ready to go. It’s a simple way to avoid any last-minute trips to the pantry!
Creaming the butter and sugars
In a large mixing bowl, you’ll want to start by creaming the softened butter with both sugars. Using a hand mixer or a stand mixer, mix them on medium speed until the mixture becomes light and fluffy—this usually takes about 2-3 minutes. The texture should be smooth, and you’ll notice the sugars begin to dissolve into the butter. This step is essential because it incorporates air into the mixture, giving your cookies that desirable chewy texture.
Mixing the eggs and vanilla
Next, add in the eggs one at a time, mixing well after each addition. It’s important to ensure they’re fully incorporated before adding the next. Then, blend in the vanilla extract. This adds a warm, comforting flavor that makes Mrs. Fields Chocolate Chip Cookies so memorable. Have you ever wondered how much of a difference pure vanilla can make? According to culinary experts, using high-quality vanilla elevates baked goods significantly.
Combining dry ingredients
In a separate bowl, whisk together the all-purpose flour, baking soda, and salt. This step helps distribute the baking soda evenly throughout the flour, ensuring that your cookies rise uniformly. Gradually add this dry mixture to your wet ingredients, mixing until just combined. Overmixing can lead to tough cookies—nobody wants that!
Folding in the chocolate chips
Now comes the best part: folding in those delicious chocolate chips! Feel free to use a mix of all dark, semisweet, or even milk chocolate if you prefer. Gently fold them in with a spatula, taking care not to break the chips. This is your chance to ensure every bite is bursting with chocolatey goodness.
Chilling the dough (optional but recommended)
For an enhanced flavor and texture, consider chilling the dough. Wrap it in plastic wrap and refrigerate for at least 30 minutes (or up to 24 hours if you can wait!). Chilling the dough allows the flavors to meld and results in thicker cookies. It’s a simple step that can take your cookies from good to extraordinary.
Shaping the cookies
Once chilled, preheat your oven to 350°F (175°C). Line a baking sheet with parchment paper. Use a cookie scoop or tablespoon to portion the dough onto the sheet, making sure to leave space between each cookie as they will spread while baking. Aim for about 2 inches apart for perfect spacing.
Baking to perfection
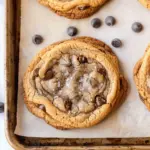
Bake for 10 to 12 minutes, or until the edges are golden and the centers still look slightly undercooked. This is crucial for those chewy centers! Remove them from the oven and let them cool on the baking sheet for a few minutes before transferring to a wire rack to cool completely.
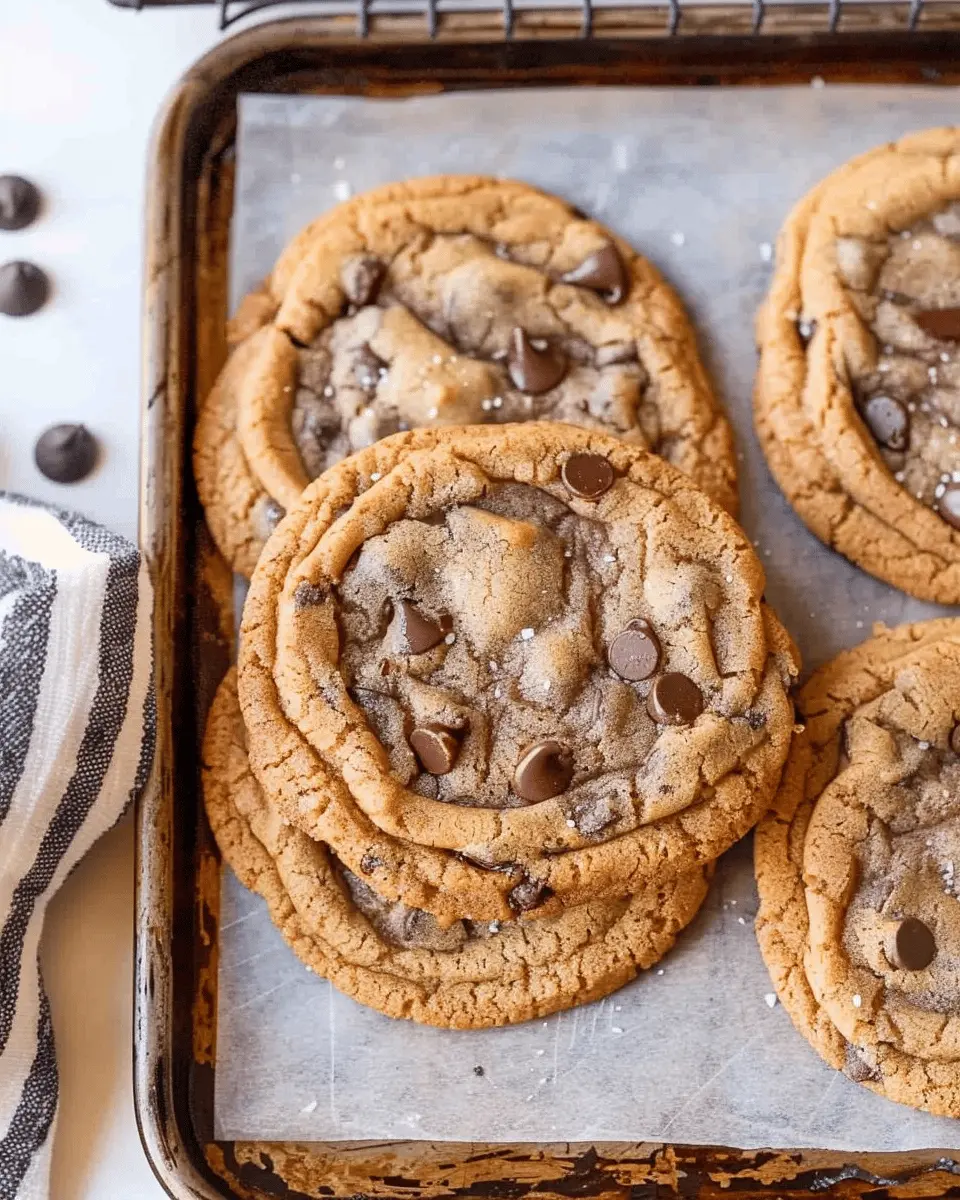
And there you have it! Your very own homemade Mrs. Fields Chocolate Chip Cookies—golden, chewy, and irresistibly delicious. These cookies not only fill your home with an amazing aroma but also provide an unforgettable treat that is sure to please everyone. Enjoy!
Variations on Mrs. Fields Chocolate Chip Cookies
Mrs. Fields Chocolate Chip Cookies are delicious just as they are, but why not mix things up a bit? Here are a few delightful variations that might just become your new favorites.
Nutty Chocolate Chip Cookies
If you’re a fan of a nutty crunch in your cookies, these Nutty Chocolate Chip Cookies are for you. Simply fold in your favorite nuts, such as walnuts or pecans, into the batter. Not only do they add a lovely texture, but they also introduce a rich, earthy flavor that complements the chocolate beautifully. Nuts are packed with healthy fats and protein, making your sweet treat just a touch more nutritious. When was the last time you had a cookie that tackled cravings while keeping you feeling satisfied?
Gluten-Free Chocolate Chip Cookies
Eating gluten-free doesn’t mean sacrificing flavor or texture. Substitute all-purpose flour with a gluten-free blend, or use almond flour for a nutty twist. Be sure to add a bit of xanthan gum to help bind the ingredients, which creates that signature chewy texture we all adore in Mrs. Fields Chocolate Chip Cookies. Brands like Bob’s Red Mill offer excellent gluten-free flour options that can serve as your go-to for baking. By the way, have you explored some gluten-free vanilla extracts from high-quality sources? They can elevate your cookie game!
Stuffed Chocolate Chip Cookies
For a decadent twist, why not stuff your cookies? Whether it’s a creamy peanut butter center or a gooey chocolate truffle at the heart of your cookie, stuffing them can take your baking skills to the next level. Prepare to impress your friends; they won’t believe how indulgent a seemingly simple cookie can be! This is also a fantastic opportunity to get creative and mix in flavors that you love. Have you thought about customizing your fillings?
Exploring these variations not only adds excitement to your baking routine but also caters to various dietary preferences. Don’t be afraid to experiment and find the combination that speaks to you!
Cooking Tips and Notes for Mrs. Fields Chocolate Chip Cookies
Customizing Texture and Flavor
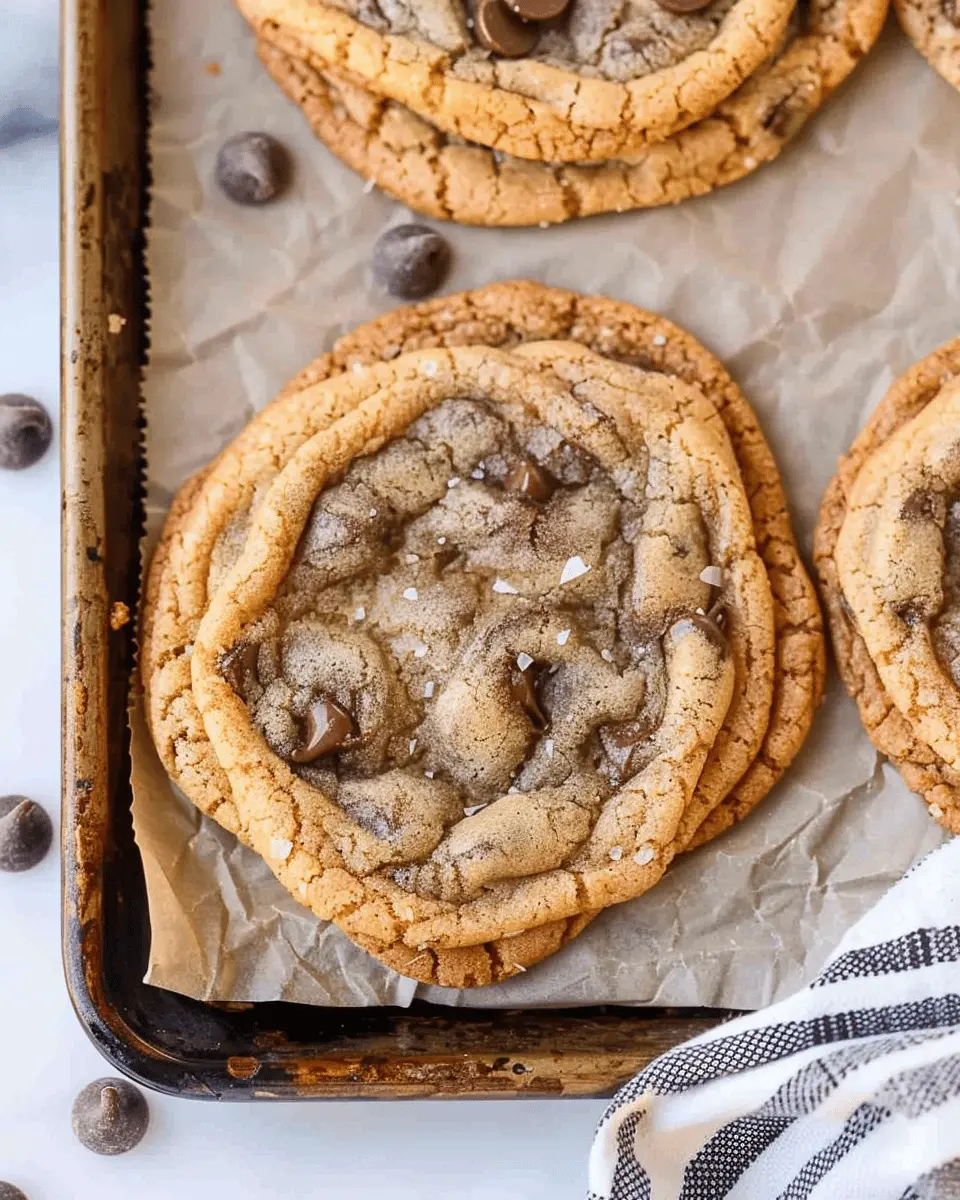
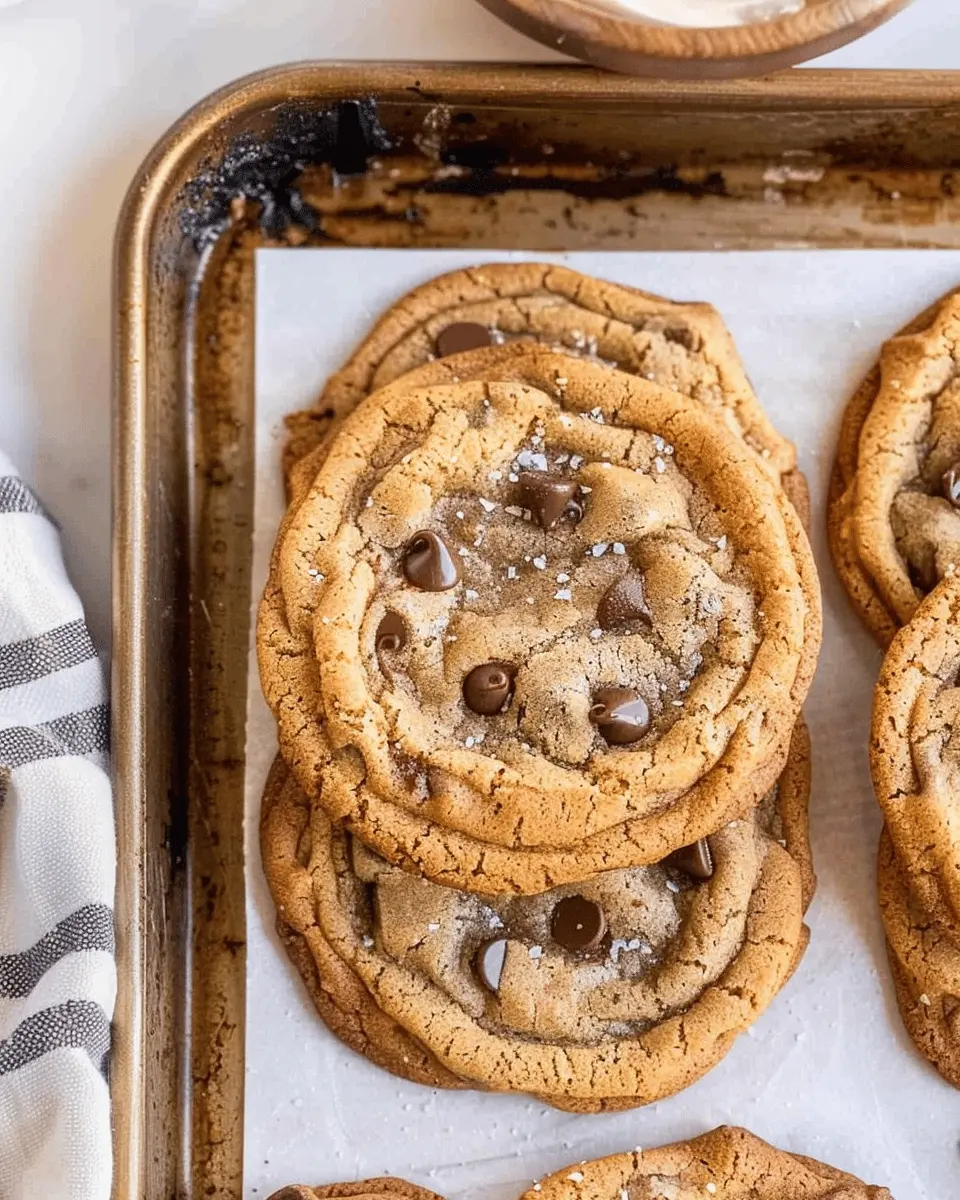
When crafting your Mrs. Fields chocolate chip cookies, consider the perfect balance of chewy and crispy. For softer cookies, use more brown sugar and slightly underbake them. If you prefer a crunchier texture, opt for more white sugar and bake them until they’re golden brown. Feel free to mix in different types of chocolate chips or nuts for a twist on the classic flavor!
Storage Tips for Freshness
To ensure your Mrs. Fields chocolate chip cookies stay fresh longer, store them in an airtight container at room temperature. For extended freshness, you can also freeze the cookies. Just make sure to place parchment paper between layers to prevent sticking. Did you know cookies can last up to three months in the freezer? When ready to enjoy, let them thaw at room temperature—just like fresh from the oven!
For more ideas on cookie variations and preserving freshness, check out resources like the American Baking Guild. Happy baking!
Serving Suggestions for Mrs. Fields Chocolate Chip Cookies
Pairing Cookies with Beverages
What’s better than enjoying a warm batch of Mrs. Fields Chocolate Chip Cookies? The answer lies in the beverages you choose to accompany them. Consider pairing these delicious cookies with:
- Cold Brew Coffee: The rich, nutty flavors of cold brew enhance the chocolate lavishness in every bite.
- Smoothies: A fruit smoothie can balance the sweetness, offering a refreshing contrast.
- Milk Alternatives: Almond milk or oat milk mixes perfectly without overshadowing the cookie’s flavors.
If you want to explore flavor pairings further, check out this guide on beverage pairings that dives into what works well with baked goods.
Creative Dessert Presentations
When serving Mrs. Fields Chocolate Chip Cookies at gatherings, presentation can elevate your snack game. Here are a couple of simple yet effective ideas:
- Cookie Sandwiches: Spread a layer of your favorite frosting between two cookies for a delightful treat.
- Mini Dessert Board: Arrange your cookies next to some fruit, nuts, and cheeses for a delightful dessert table.
By getting creative with how you serve your cookies, you not only make the experience more enjoyable but also impress your guests. So, how will you present these fantastic cookies at your next gathering?
Time Breakdown for Mrs. Fields Chocolate Chip Cookies
Preparation Time
Making Mrs. Fields Chocolate Chip Cookies starts with a simple prep period of about 15 minutes. This is when the magic begins—gathering your ingredients, measuring everything accurately, and letting butter soften so it blends smoothly.
Cooking Time
Once you’ve expertly mixed your dough, the baking takes approximately 10-12 minutes per batch. It might feel like waiting for a pot to boil, but the aroma filling your kitchen makes it all worthwhile!
Total Time
From start to finish, you’re looking at around 30-35 minutes to whip up these delectable treats. This timeframe can vary depending on how many batches you choose to bake, but trust me—it’s worth every second spent for the heavenly taste of warm, gooey cookies.
If you’re looking for more baking tips and tricks, consider checking out sources like Sally’s Baking Addiction or The Kitchn for expert advice. Happy baking!
Nutritional Facts for Mrs. Fields Chocolate Chip Cookies
Calories per cookie
When indulging in the deliciousness of Mrs. Fields Chocolate Chip Cookies, it’s good to know what’s in each delightful bite. Typically, one cookie contains around 150 to 200 calories. This means that while they are a tasty treat, moderation is key if you’re mindful of your calorie intake.
Overview of key nutrients
Aside from the joy they bring, these cookies also offer some nutritional value:
- Fats: Most of the calories come from fats, primarily from butter and chocolate. It’s all about those rich flavors!
- Carbohydrates: With around 20-30 grams per cookie, they provide a quick energy boost, making them a popular choice for a pick-me-up.
- Protein: Each cookie contains a modest amount of protein, primarily from eggs and flour.
- Fiber: While not a high-fiber snack, they do provide a little, which can help with digestion.
For a deeper dive into nutrition, consider checking reputable sources like the USDA FoodData Central or health-focused blogs that discuss cookie ingredients and their benefits. Exploring such resources can sharpen your knowledge while enjoying your homemade cookies!
FAQs about Mrs. Fields Chocolate Chip Cookies
How do I achieve the perfect chewy texture?
To master the art of crafting Mrs. Fields Chocolate Chip Cookies, focus on your ingredients and baking time. Using brown sugar generously contributes to that delightful chewiness, while the right baking temperature ensures they don’t dry out. Bake them for just 9-11 minutes until the edges are golden but the center looks a tad undercooked. Trust me; they’ll continue to set as they cool.
Can I freeze the cookie dough?
Absolutely! Freezing your Mrs. Fields Chocolate Chip Cookies dough is a fantastic way to have fresh cookies on demand. Simply scoop the dough into individual balls, place them on a baking sheet lined with parchment paper, and freeze until solid. Then transfer the frozen balls to a zip-top bag and store in the freezer for up to three months. When you’re ready, bake straight from the freezer—just add a couple of extra minutes to the baking time.
What are the best storage methods for baked cookies?
To keep your Mrs. Fields Chocolate Chip Cookies fresh and delicious, the storage method is key. Store them in an airtight container at room temperature for about a week. If you want to extend their life, consider placing parchment paper between layers of cookies—this prevents them from sticking together. For long-term storage, you can freeze baked cookies, too! Just ensure they are in a freezer-safe container. They can last up to three months, and you can enjoy the taste of fresh cookies any time.
For more baking tips and storage solutions, check out sources like The Kitchn for expert advice.
By addressing these common queries, you’ll ensure that every batch of Mrs. Fields Chocolate Chip Cookies turns out perfectly every time.
Conclusion on Mrs. Fields Chocolate Chip Cookies
Homemade cookies are worth every moment spent in the kitchen. When you whip up a batch of Mrs. Fields Chocolate Chip Cookies, you’re not just baking; you’re creating an experience filled with delicious memories. The smell of warm, gooey cookies wafting through your home is unbeatable and often brings a sense of comfort and nostalgia. Plus, there’s something incredibly rewarding about using simple, quality ingredients to make a treat that can brighten anyone’s day.
So next time you crave a sweet snack, consider making these cookies! For more delicious recipes and baking tips, check out sites like Serious Eats or Bon Appétit. Happy baking!
PrintMrs Fields Chocolate Chip Cookies: The Best Homemade Treats
Discover the secret to the best homemade Mrs Fields Chocolate Chip Cookies that melt in your mouth.
- Prep Time: 15 minutes
- Cook Time: 10 minutes
- Total Time: 25 minutes
- Yield: 24 cookies 1x
- Category: Dessert
- Method: Baking
- Cuisine: American
- Diet: Vegetarian
Ingredients
- 2 1/4 cups all-purpose flour
- 1 teaspoon baking soda
- 1 teaspoon salt
- 1 cup unsalted butter, softened
- 3/4 cup granulated sugar
- 3/4 cup brown sugar, packed
- 1 teaspoon vanilla extract
- 2 large eggs
- 2 cups semi-sweet chocolate chips
Instructions
- Preheat your oven to 375°F (190°C).
- In a small bowl, mix together flour, baking soda, and salt; set aside.
- In a large bowl, beat together the softened butter, granulated sugar, brown sugar, and vanilla until smooth.
- Beat in the eggs one at a time.
- Add the flour mixture gradually, mixing until just combined.
- Stir in chocolate chips.
- Drop rounded tablespoons of dough onto ungreased baking sheets.
- Bake for 9 to 11 minutes or until golden brown.
- Let cool on baking sheets for a few minutes before transferring to wire racks to cool completely.
Notes
- For chewier cookies, slightly underbake them.
- Store cookies in an airtight container at room temperature.
Nutrition
- Serving Size: 1 cookie
- Calories: 150
- Sugar: 10g
- Sodium: 100mg
- Fat: 8g
- Saturated Fat: 5g
- Unsaturated Fat: 2g
- Trans Fat: 0g
- Carbohydrates: 18g
- Fiber: 1g
- Protein: 2g
- Cholesterol: 20mg
Keywords: Mrs Fields Chocolate Chip Cookies